Time Traveling | Early 19th Century Corded Stays

Corded Stays Jessica Quirk B.jpg
Corded Stays Jessica Quirk J.jpg
Corded Stays Jessica Quirk C.jpg
Corded Stays Jessica Quirk H.jpg
Corded Stays Jessica Quirk D.jpg

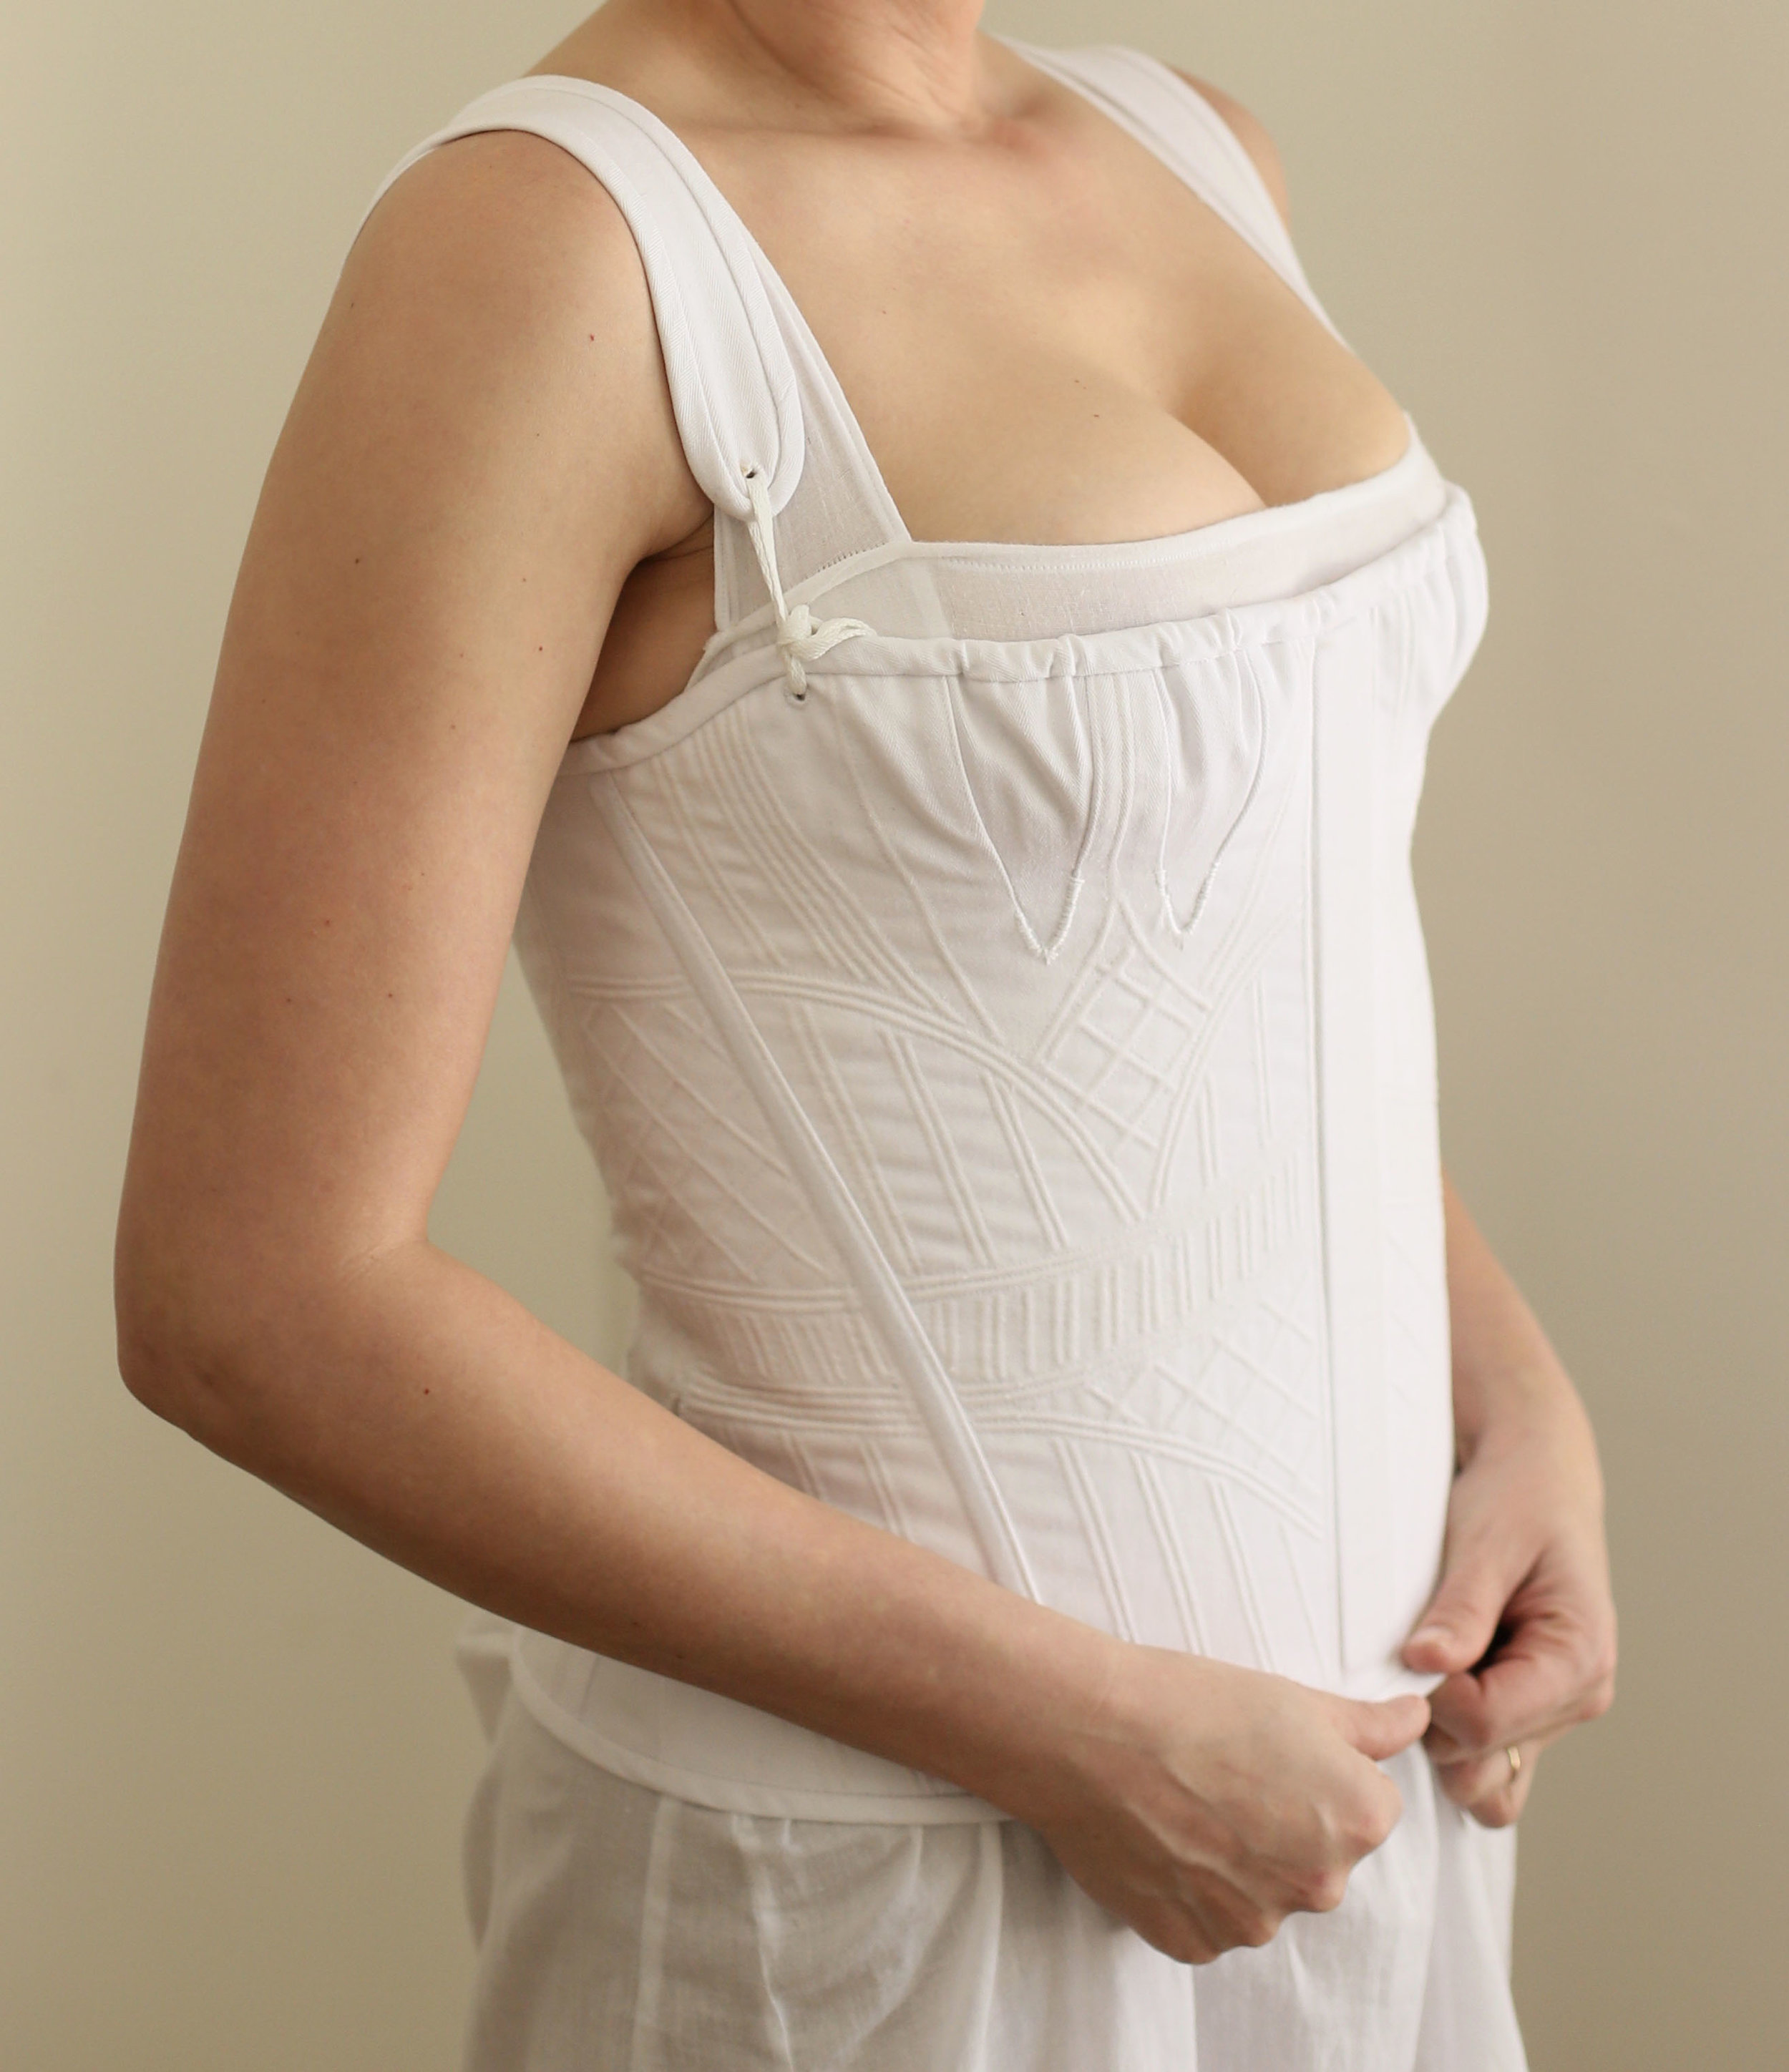
I’ve been on a sewing roll in 2019 and my latest project is a pair of early 19th century stays. As fashion moved towards a neoclassical influence around the turn of the century, the undergarments worn also evolved. Instead of shaping the torso into a conical shape (like my first pair of stays), the shape of the bosom was more defined by lifting and separating the bust (versus just smushing them up like previous centuries).

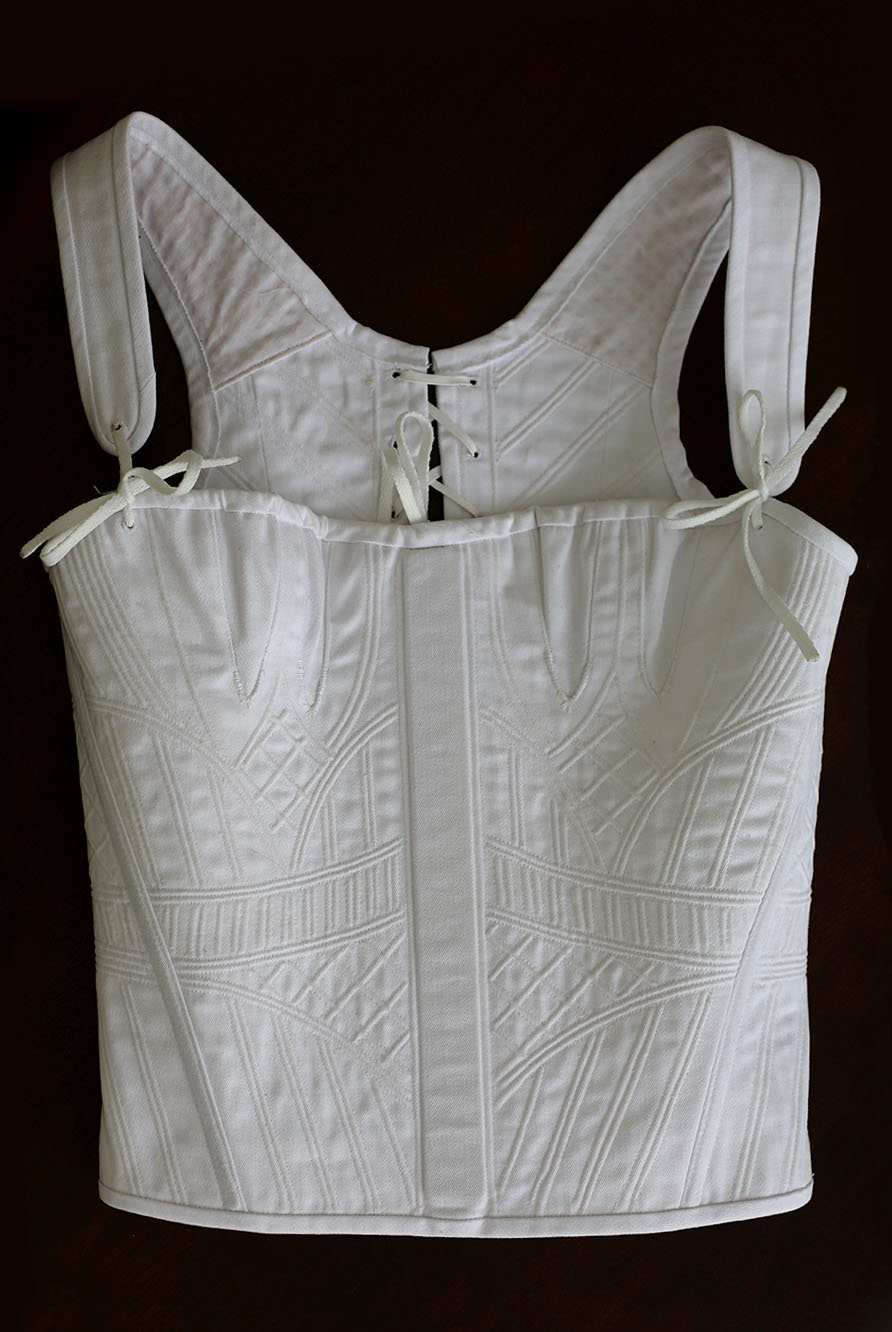
The construction for this new shape incorporates gussets, or triangular shaped inserts, to give more shape to the stays. To me this is probably the first version of the bra we know and wear today - from flattened uniboobs to more rounded cups.

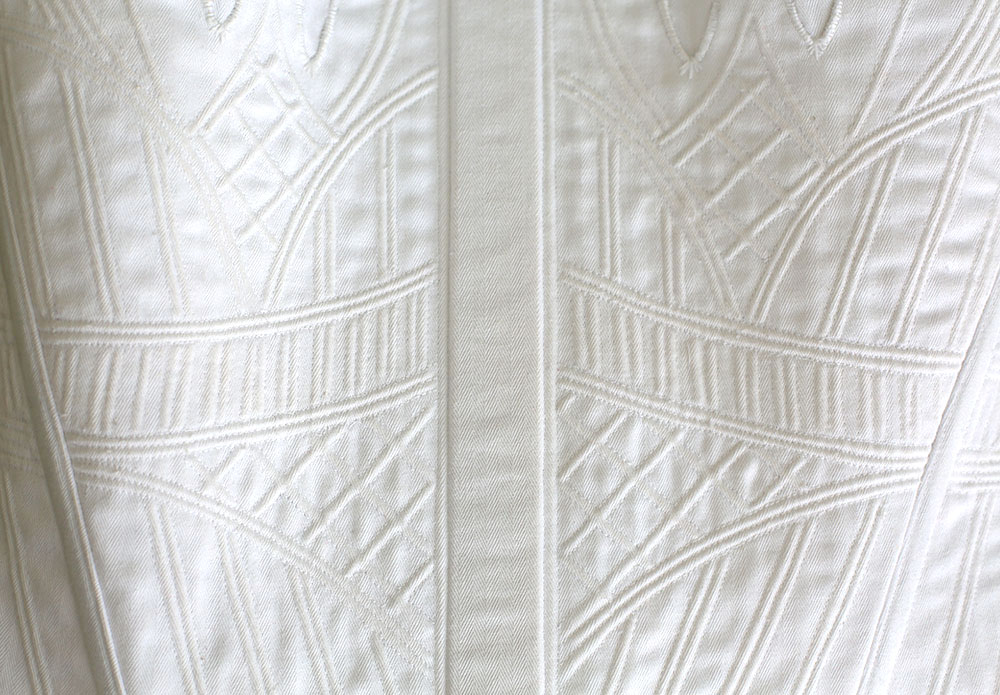
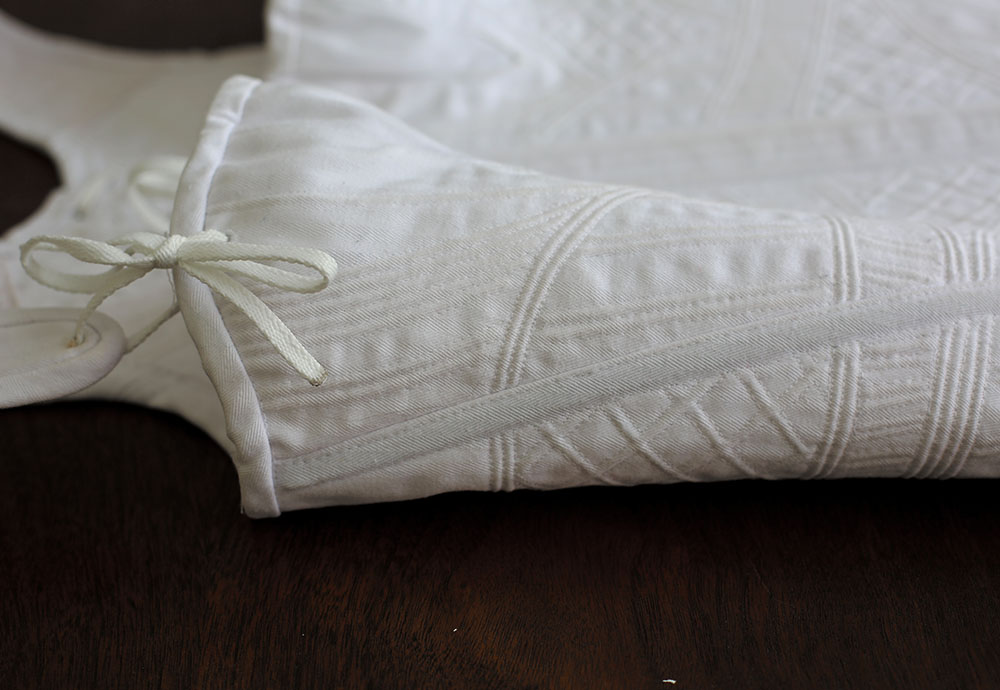
When it comes to my historical undergarments - you know me - the more elaborate, the better! Enter the idea for corded stays. These actually fall more towards the 1820-1830s due to the cording, but I’m hoping the shape of this garment will work for costumes between 1800-1840. Plus I wanted to make something spectacular, and I think I’ve done it!

For my base pattern, I worked with the Laughing Moon Mercantile 115 and chose a white coutil (a tightly woven fabric made for corsetry). I made a quick mock up in size 16, determined I could size down and got to the business of cutting and cording my pieces.

Corded Stays Jessica Quirk F.jpg

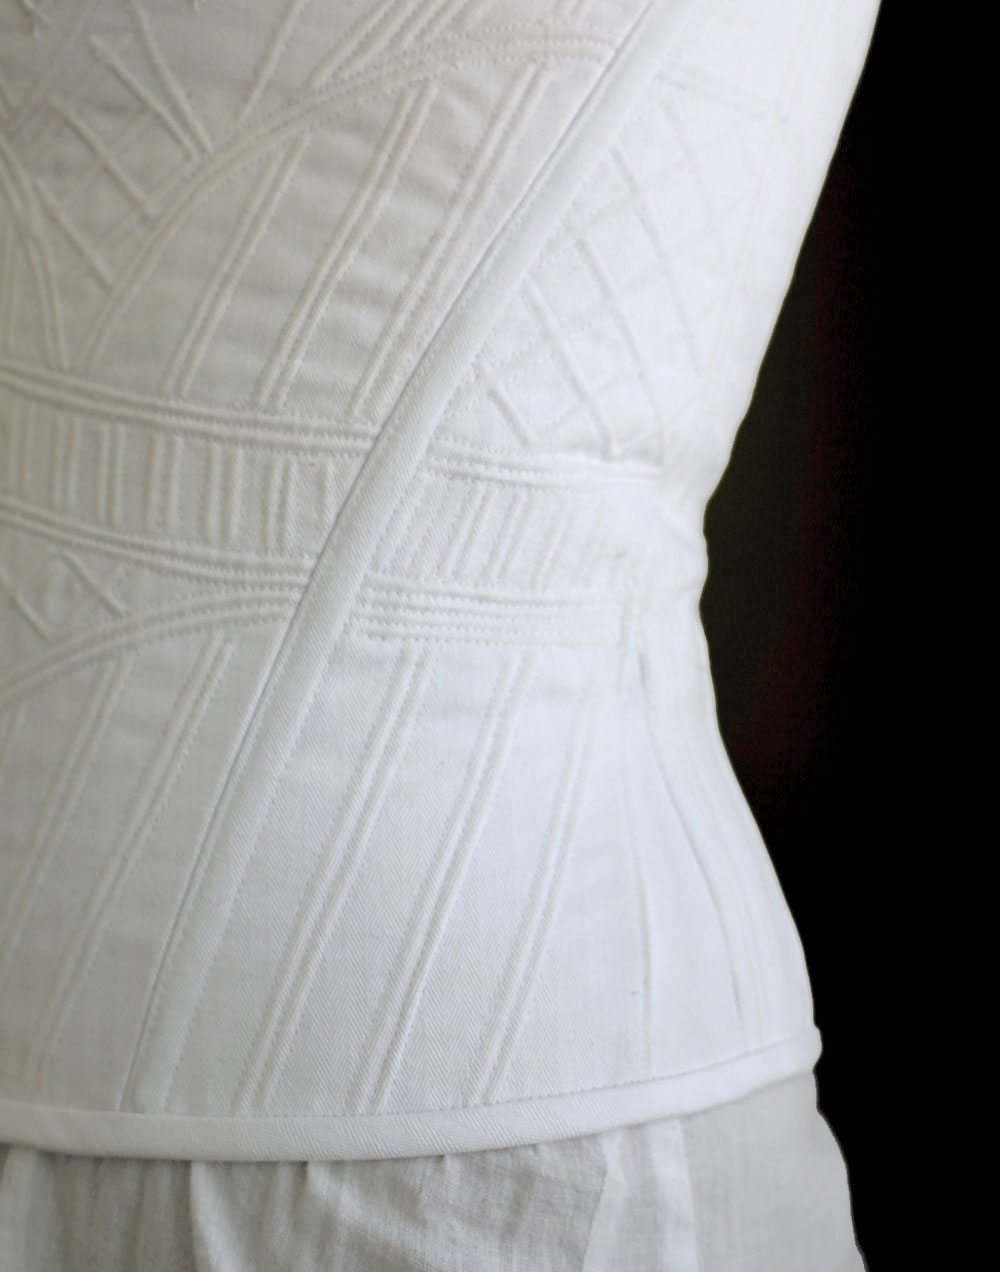
For my cording design I used extant museum pieces (specifically this one) as my inspiration. I first drew sketches of the overall look and then moved to creating them on my paper pattern. I then taped my fabric and cording design to my windows and traced them with a water soluble pen. The design I started with is far less intricate than my final design because I just kept adding, adding, adding channels (even after front and back sides were joined) but I’m really glad I did. This is an intentionally softer style corset (there’s way more breathing room than my earlier pair) and isn’t meant for major waist reduction like mid 19th century - 20th century styles. It does provide posture correction and some shaping, but my rib cage can expand so much more than a heavily boned version. There are only four total boning channels, plus the front busk pocket so all of the extra cording gives the garment more strength. Plus I think it’s really beautiful!

After the channels are sewn, loose tails are threaded into a needle and taken to the back side. Every single stop and start of a stitching line! After a while I altered my technique a bit so I could sew one whole section (like 4 parallel lines) without cutting my thread. It can get mighty messy with all of those threads on the backside. Once they were pulled to the back, I tied the bobbin and top threads together and cut them near the knot. Then comes the fun part of actually getting the cording into the channels.

I did this using a combination of large needles, needle nose pliers and a fierce determination to carry on even when my fingers were so sore! You need the pliers to grab the needle and keep it from slipping as you gather the thick fabric and push the needle through. I can’t imagine even getting one channel complete without them! For the majority of the channels, I used a blunt tapestry needle, but I also used a long (4-5”) sharper needle to quickly get me through shorter channels. I had to be very careful to not puncture my top fabric with the needles and keep the cording (I just used cotton yarn) in place.

After the gussets were sewn and flossed (part embroidery, part stabilization), I moved onto the back eyelets. Those are all hand sewn and call me crazy but I LOVE doing them. They’re so cute and strong! Finally, after the straps were sewn to the back, I did bias binding around both the top and bottom edges. This is another thing I really love! If you’re precise, it looks so crisp and amazing. During that process I also added a drawstring channel to the top of the front so I could draw in the excess space created by the bust gussets.

The center front busk is a flat wooden piece inserted into a pocket. In my early construction phases I just used a freebie paint stick (as many a historical costumer has recommended online!) but wanted something a little more special and straight (there’s a small indentation about 2” from one edge on both left and right sides I didn’t want showing through my stays. Adam was able to run out to his woodshop and brought back a gorgeous ash version (wood leftover from our dining room floors!) in under 5 minutes! Thanks Adam!

This project took about seven working days to complete (during weekends, while kids are playing or at night). My pattern, fabric and lacing were a gift from my mother in law - thank you Mary!!!) and I harvested old steel bones (creepy!) from a corset I’m not planning on wearing again.

In the end I’m excited to add this piece to my costume closet and start making regency style dresses to be worn over it. If you’d like to see more behind the scenes, check out my Instagram Highlights to watch the process!
Corded Stays Jessica Quirk M.jpg
Corded Stays Jessica Quirk E.jpg
Corded Stays Jessica Quirk A.jpg

Time Traveling | Making 18th Century Stays

Stays Leader 3.jpg
Embroidery 1.jpg
Stays Full 3.jpg
Stays Embroidery.jpg
Stays Leader 4.jpg

Voila! I've put the finishing touches on my 18th century stays and I could not be more excited and proud of the final result. I've made these as the foundation to complete my 1780's style costume that I'll wear this fall with my family to a Revolutionary War re-enactment. But before I go into any of those plans, let me tell you more about this project!

Historical Background

Once upon a time, stays were the foundation to every woman's daily outfit. They provide an elegant conical shape, give back support, lift and enhance the bosom (hello!) and inform one's posture. Women of all social classes wore stays, which later evolved into corsets. Normally stays would be worn with a linen shift or chemise underneath, but I haven't completed mine yet so I'm just wearing a simple white dress I already had in my closet. 

Inspiration

I wanted my stays to have an antique quality to them, which is why I chose natural linen as my fashion fabric. I also knew I wanted to make them a little extra special, and chose to embroidery an 18th century design. I'm not going for a super bourgeois look nor am I wanting to be a laborer/camp follower. So although this fabric does lend itself to a more modest (financially speaking) approach, I think the embroidery makes it special and a little more luxurious. All that said, no one but me and you will see this piece because it will be completely covered by my gown and petticoats!  

Embroidery 3.jpg

Embroidery

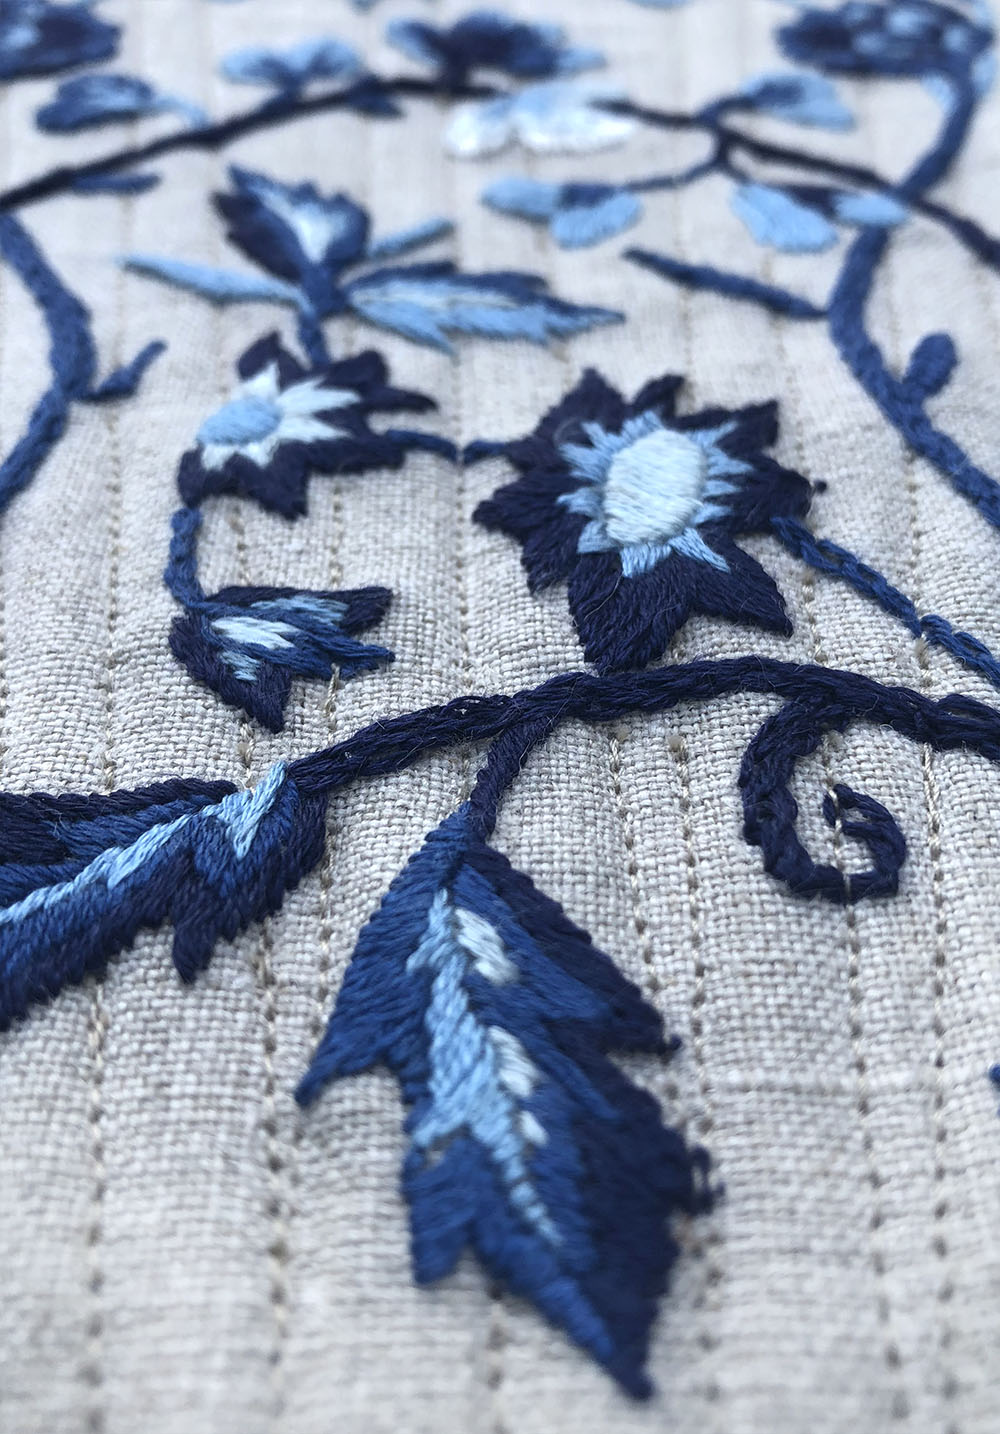
The floral design I've used was actually something I found at a garage sale! The pattern was part of a Colonial Williamsburg embroidery kit for a bell pull. I used this design as a basis by scanning it into Photoshop and adjusting it to fit the center front pattern piece (which was a PDF download). Next I printed that design out to scale on adhesive embroidery paper, which dissolves in water once you have completed your design. It was really cool! I also recolored it into shades of blue, which really pop against the natural linen! 

Pattern

I purchased the digital download from RedThreaded patterns online. I met the proprietress Cynthia at the Jane Austen Festival and she was great! I had a look at her stock corsets and this particular 18th century design spoke to me. I like the look of the horizontal boning and the shaping of the all in one tabs. I sewed a medium and did not make alterations to the pattern pieces. I did add some additional decorative boning channels because I love the ribbed effect it creates.

Stitching Notes

Stays Back.jpg

Because I embroidered the motif directly onto the linen, I did a lot of stopping and starting with my boning channels, as I did not want to sew over/through my design (minus some small branches). The end result is so beautiful and I don't think the starts and stops will negatively effect the functionality!

I used a faux silk charmeuse (It's poly and the best I could find locally! It has a really nice hand feel for not being the real thing) for my binding and hand sewed it around the entirety of the stays, using the bias to create as smooth of an effect as possible. This was fiddly, but I actually really loved doing the hand work on this step. I then wrapped the bias around the edges and basted it into place. Finally, I stitched in the ditch oh-so-carefully to hold the binding in place.

I also really loved doing all of the eyelets BY HAND (there are 24 of them!) Using a sewing awl and button thread, these lil guys are so sturdy. And they're beautiful! 

Finally - I did end up making two orders for my boning and had to adjust the lengths (I needed longer) than the pattern notions suggested. And that's my fault because the pattern says to measure before you order (but I wanted all of the supplies at once...)

Final Thoughts

I LOVED this project. All of the handwork was really enjoyable and something I am able to do as my children play nearby or while they are napping (getting time with my sewing machine is a different story). Sewing it was a pleasure and it's fun to create something with such attention to detail, even if I'm the only one who will be able to appreciate them.

Actually lacing up and wearing these stays was even better than making them!! I love the silhouette it creates and how it really directs how you move about. Weird as it may sound, I always feel more myself when I'm dressing in costume and this foundation garment is no exception. It's remarkably comfortable and doesn't constrict my breathing as you might expect. Now I cannot wait to get started on my 1780s Italian style gown! 

Project Sources

Stays Happy 1.jpg
IMG_3335 copy.jpg