Introducing | The Kirsten Project
/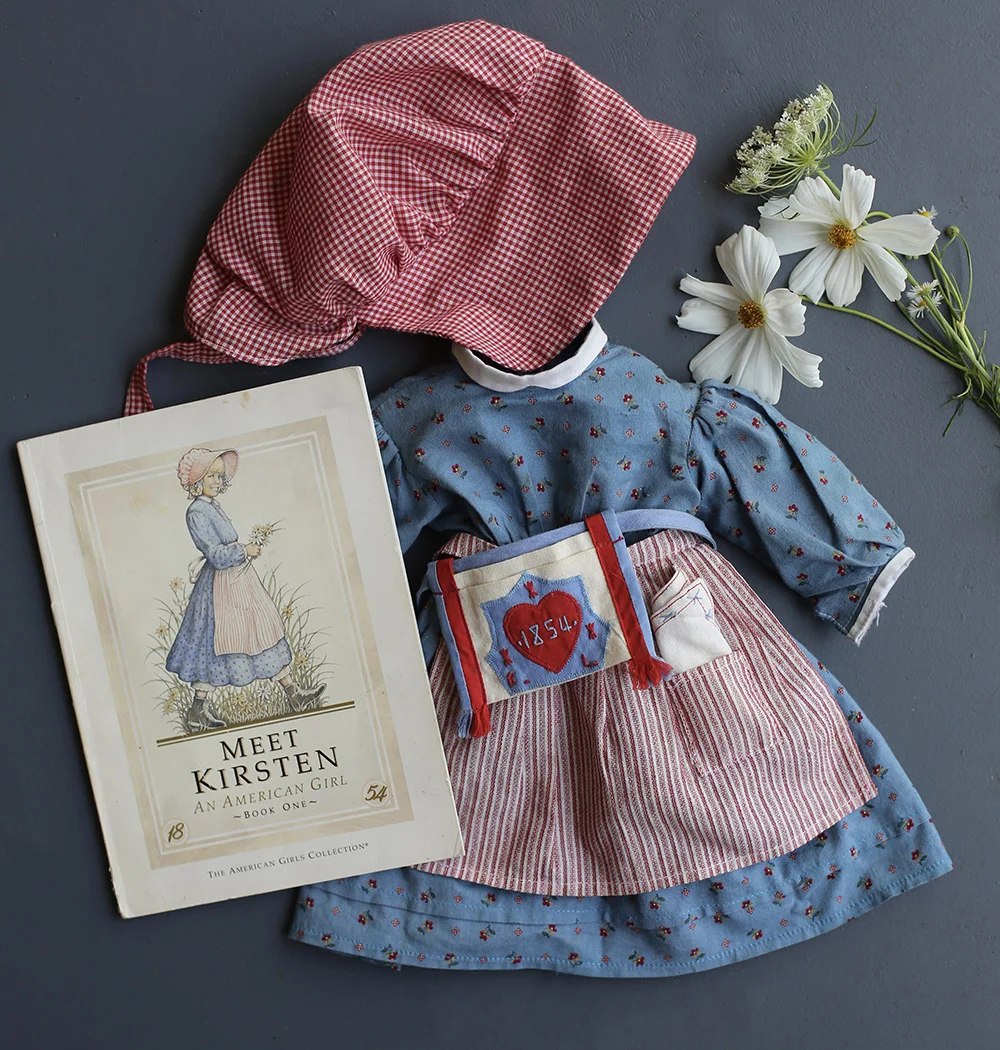
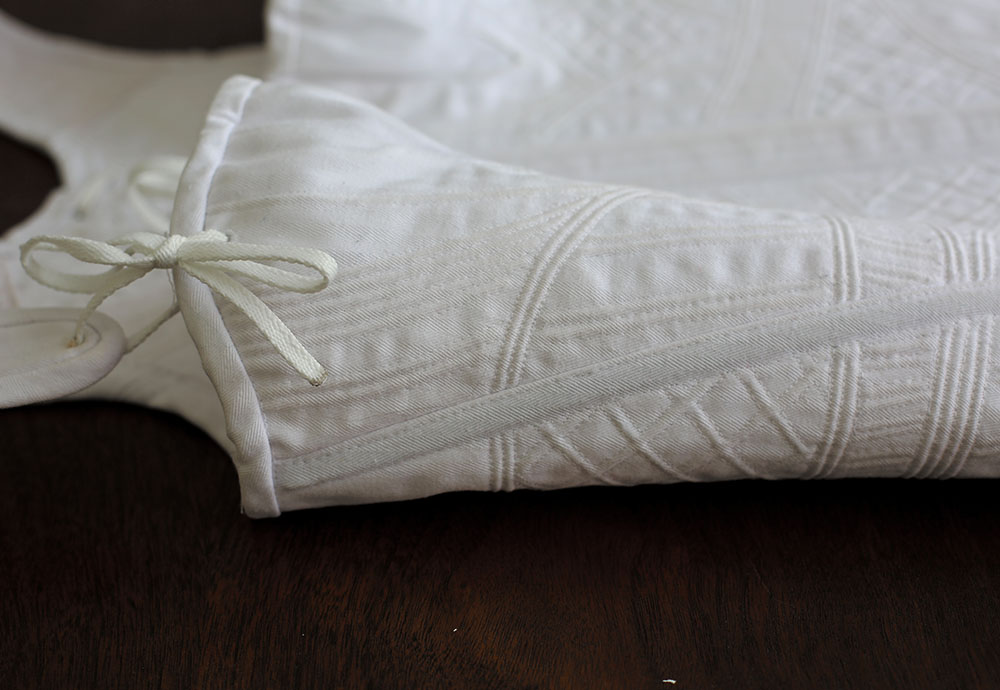
My pleasant company edition of meet kirsten (1986, when it was just her, samantha and molly!) from childhood plus original outfit.

Over the course of the past year I’ve returned to one of my childhood passions with historic costumes. It was only after going to my first Jane Austen Festival did I remember how I spent so much of my early years wearing pioneer dresses, bonnets, aprons and petticoats. Anything historic was my jam, but especially the world of old fashioned clothes. I wore braids and lace up black boots to elementary school! I have memories of running through an apple orchard in my full kit and loving it so dearly.
A huge part of my introduction to history was through the American Girl Dolls, specifically Kirsten, who lived in the Midwest in 1854. You can read my whole story of how much this doll meant to me here as a background to the new project I am dying to tell you about today.
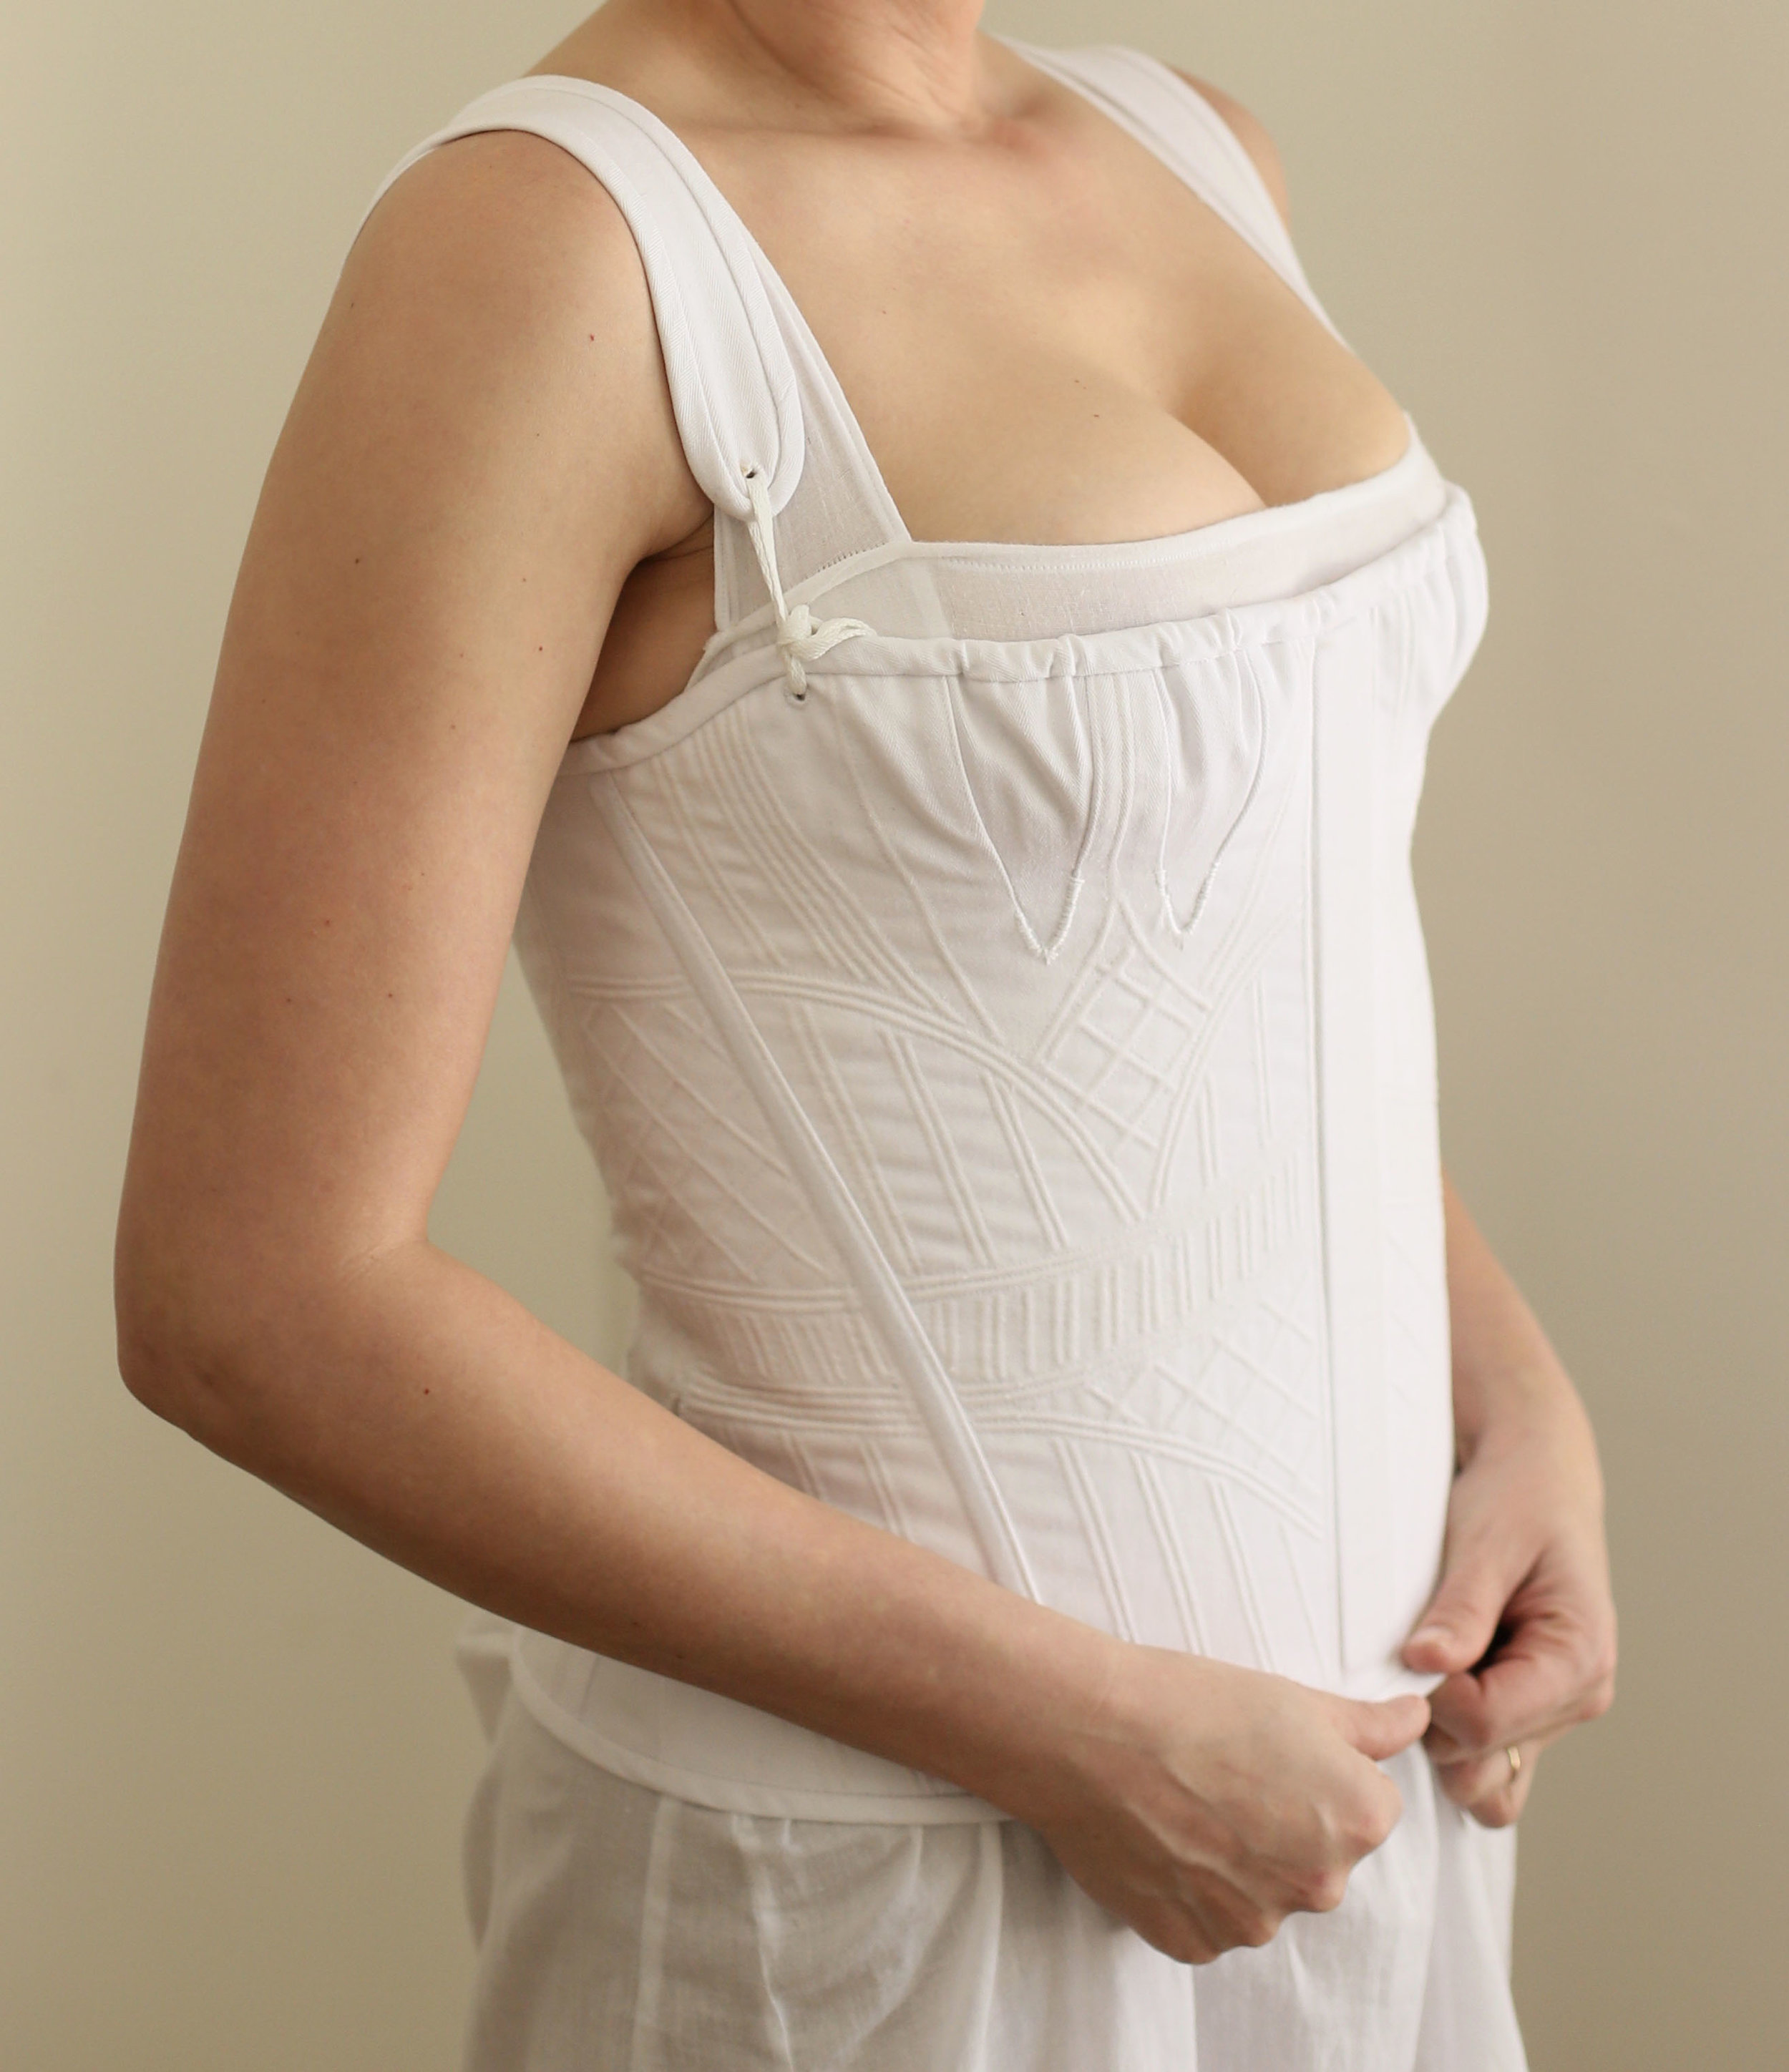
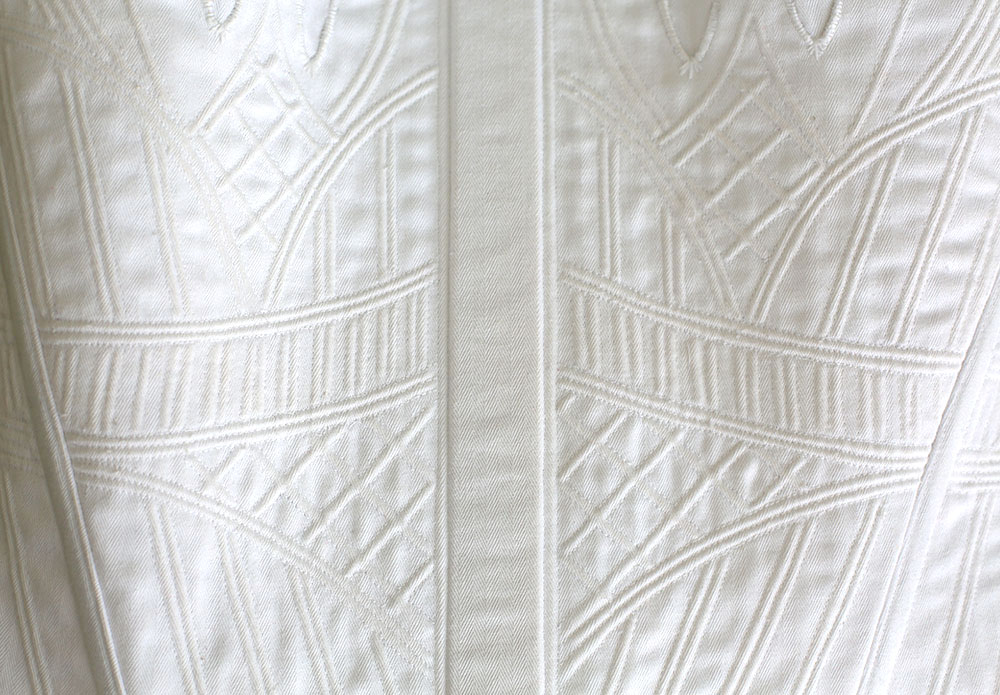
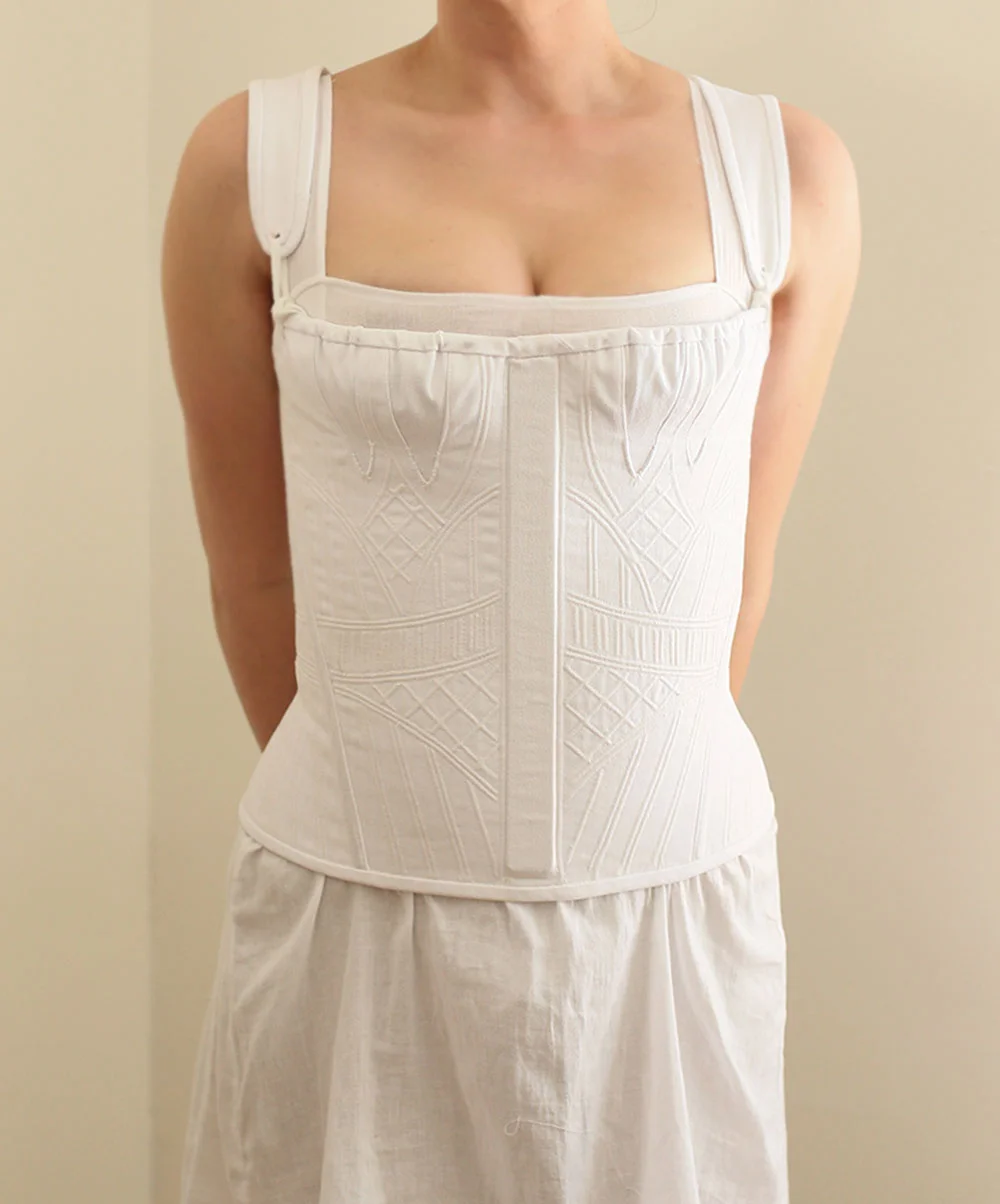
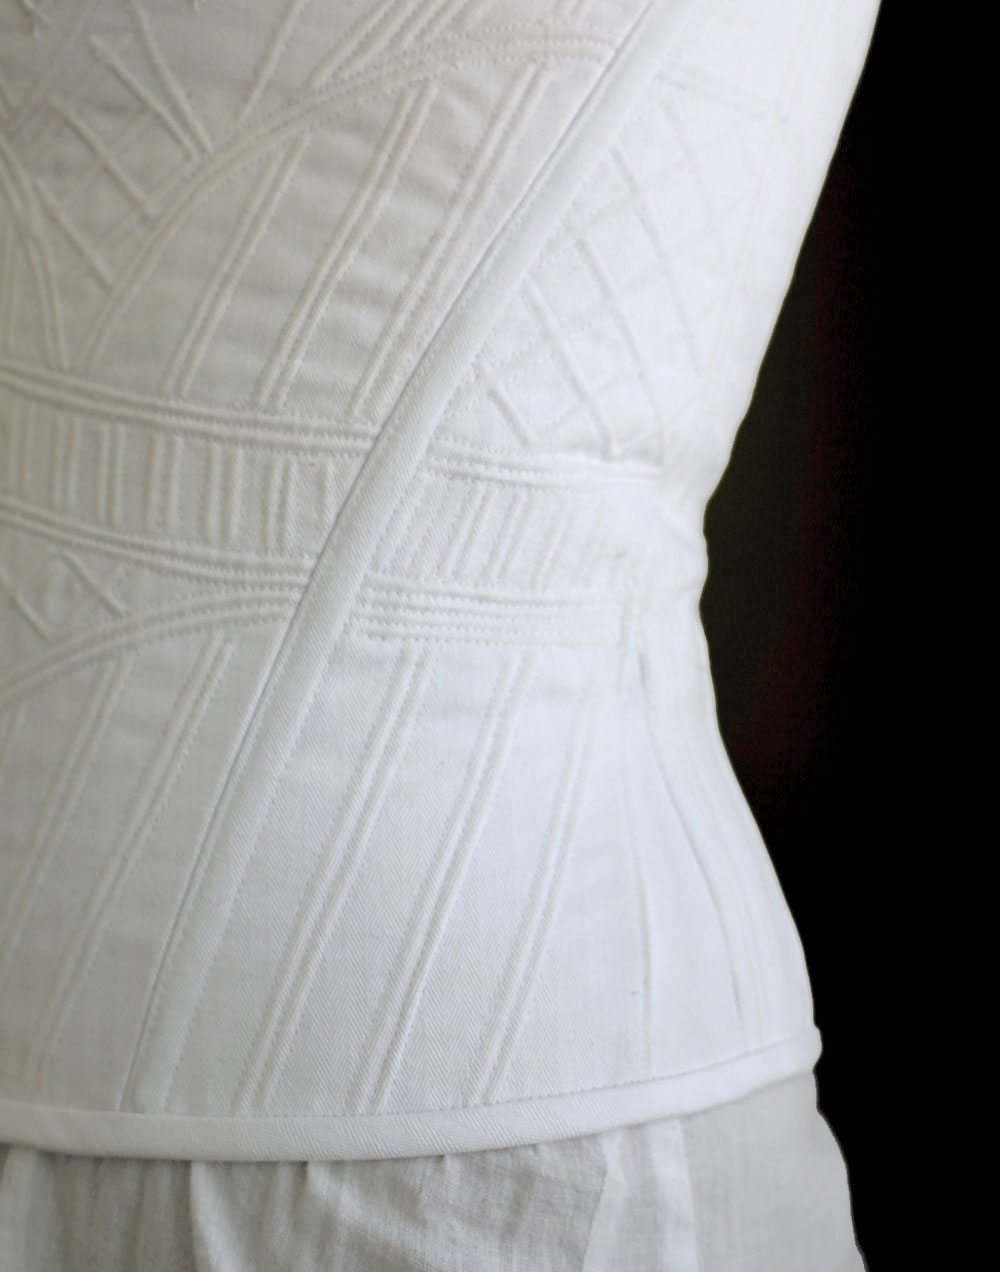
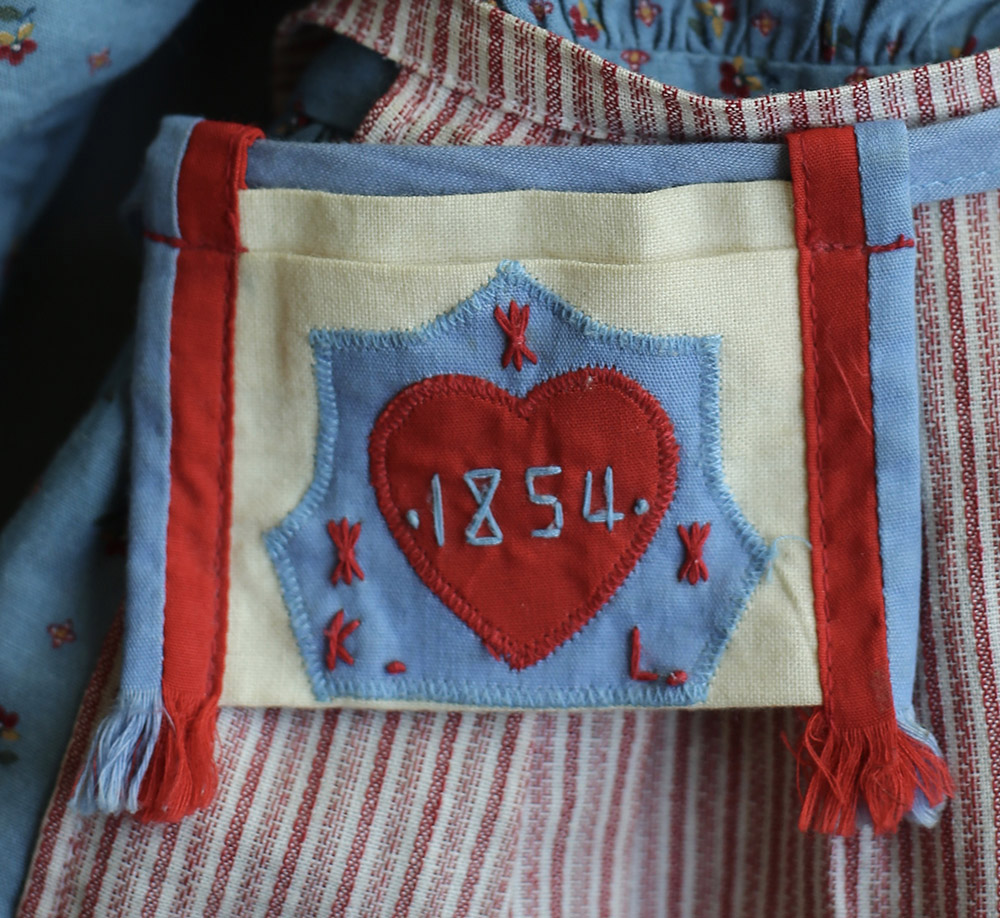
I’m calling it The Kirsten Project and it will be a multi-month exercise in creating a historically accurate mid 19th century costume from the inside out. The first book in the series, Meet Kirsten, will serve as my inspiration. I’m even going as far as designing fabric based on her dress and scaling it to the perfect adult size for me. Because Kirsten was an immigrant farmer’s daughter living in the Midwest, her ensemble won’t the same as fashion plates from Paris, but I’ll do my best to guess what that kind of woman would have worn and still embrace the spirit of the artwork from the Kirsten series. My plan for this project is to research and plan every layer - from chemises and petticoats, to a corset, hand knit socks, period footwear all the way to her signature spoon pocket and gingham bonnet. I’ll share photos and videos of my progress, just like I’ve done with past projects.

Speaking of sharing… the other half of the experiment is a little crowd funding proposal. I’m wondering if you’d be willing to chip in whatever you can to watch the project unfold? I have a private instagram account I’ve set up exclusively for contributors. You can support the project with a one time donation and in any amount through my PayPal. Drop me a DM and I’ll approve your follow request! All of these funds will go towards the hefty expense of making a historical costume (buying patterns from independent designers, creating my own original fabric designs and having them printed, buying from mom and pop fabric stores, supporting women owned shoe companies, knitters, and more) and will make me feel supported as an artist (thank you thank you thank you!) Think of this like a one-on-one guided museum tour through an incredibly specific part of costume history.
If you can wait until the very end, look for the full project to land here. Otherwise, watch me in real time by supporting this project!

I can’t wait to create my own historically accurate adult version inspired by kirsten.