The Kirsten Project | Förkläde (Apron)
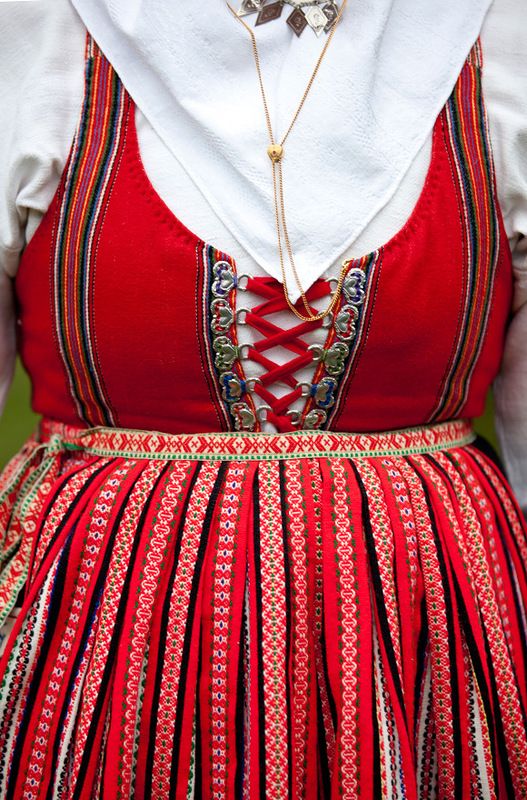
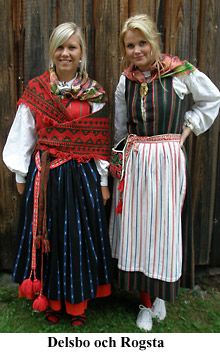
/One aspect of this project that I didn’t foresee finding a lot of inspiration was Kirsten’s red and white striped apron. However, once I started digging I uncovered that this particular item of clothing has a deep connection to the traditional clothing of the Dalarna region of Sweden and is still worn today as folk costume during Midsommer festivals. I found a lot of information from the blog Folk Costumes, which sites original sources (many in Swedish). The Digitalt Museum also has a wealth of information on traditional costumes - all of the above images have been sourced via their site.
In addition to the extant aprons and photos, the work of Carl Larsson again influences the simple red and white stripes of the fabric. Here are just a few of his pieces where you can see the traditional förkläde.
Kersti’s Birthday Party by Carl Larsson 1909
Lilliana feeds the fire, carl larsson 1918
Christmas Tree Confetti, Carl Larson
Hilda, Carl Larsson 1911
These red, white and black aprons are woven and often passed down through generations. We see mention of Kirsten’s mama being a weaver in Happy Birthday Kirsten on page 11. “The Swedish women wove their blankets and bed coverings on looms.“ For my apron I was really hoping to find fabric like one of the swatched above, but in the end decided to go with more of a white ground and red stripe, similar to the illustrations of Kirsten’s apron throughout her series. I feel like I hit the jackpot when I found a Swedish woven tablecloth in the perfect size to make a beautiful apron. I can’t wait to show you in my final photos, but in the meantime, click through this gallery to enjoy some more images of these gorgeous aprons!
