Jessica Sews | Matilda Dress
/Today I’m excited to share a project that took me a while to jump into, but when I did, I couldn’t stop myself from stopping! This is the Matilda Dress from Megan Nielsen Patterns. After starting with the Dawn jeans (I know you’re tired of me going on and on about them), I decided I’d try another of Meg’s designs. This dress caught my eye. It really has the feel of something I used to wear a lot back in my NYC days and feels very me. So with the pattern in mind, I started to think about what fabric I might use.
Loads of sewers have been posting their makes using this linen blend blue and white ikat from JoAnn Fabrics. I even used it for my Hayden tee in the reverse color scheme (which I also used for my inner yolk, collar stand and waistband!) ! I’m glad I scooped up so much yardage when I did because on my last visit in store I saw it was sold out. So I have this gorgeous fabric and this multi piece pattern and my challenge is at hand: matching that pattern.
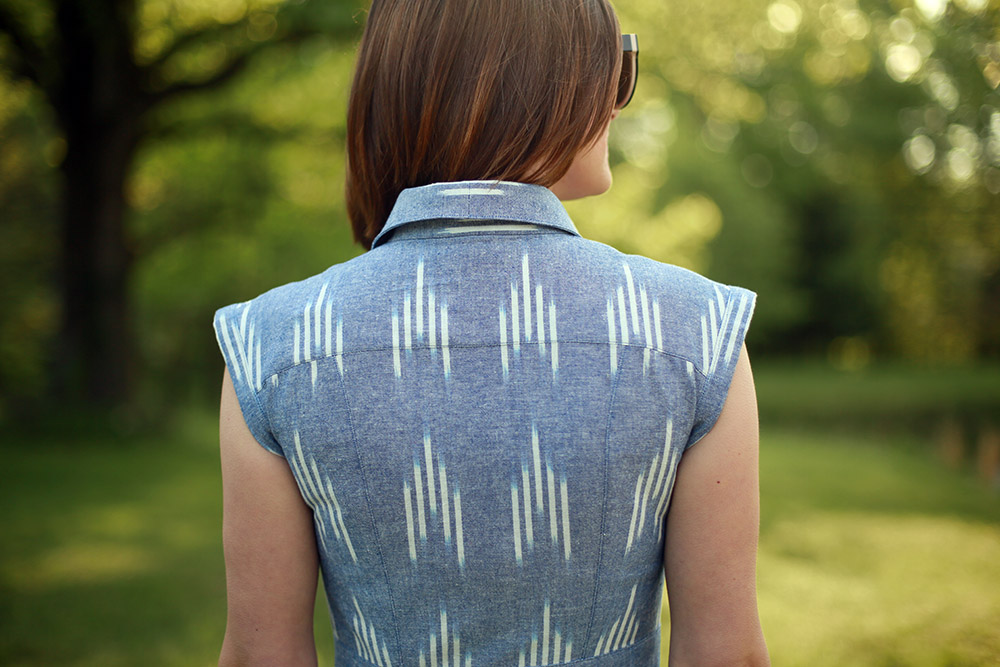
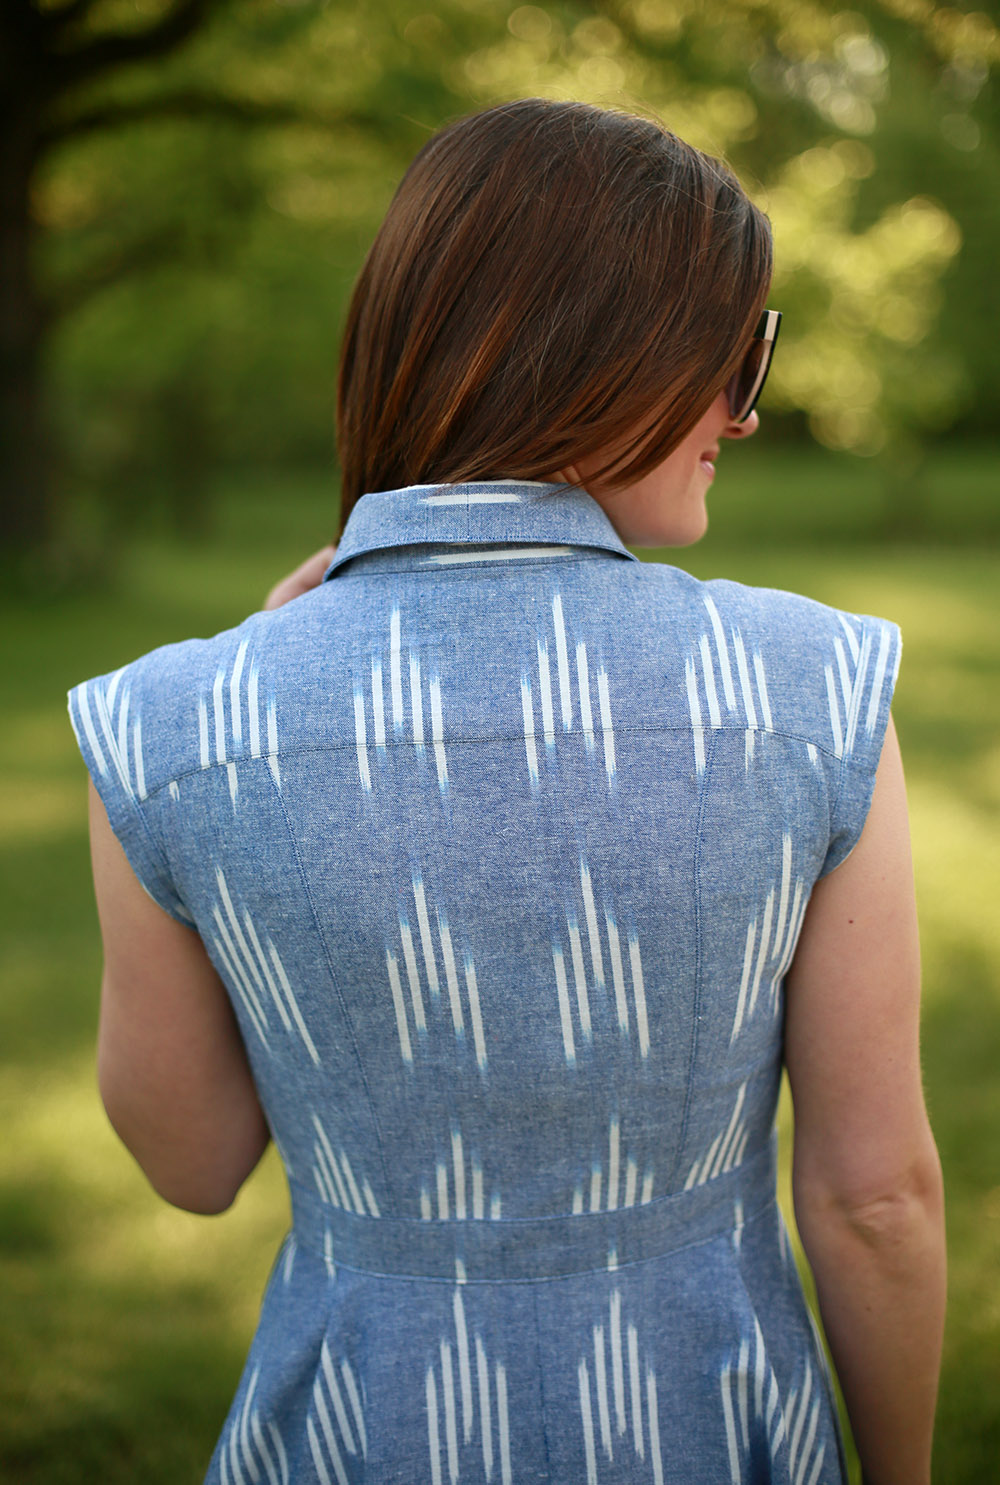
Guys - I loved it. To make it work, I had to cut out each piece individually (versus cutting the left and right at the same time while the fabric is folded) to get everything to line up just so. I started with my skirt back next to the selvage edge and went from there. To get two seams to match up just right you have to take your cut piece, fold back the seam allowance and place it down on your flat fabric. From there lay down the piece you want to match 5/8” over that pressed back SA. Place the new pattern piece down, remove the original piece and cut. And over and over and over.
And I was so proud of all that matching when I discovered… I cut the wrong size. I had printed the PDF pattern, taped it up and cut two sizes too big when I put the pattern away a couple of months ago. I can’t believe my measurements would have changed so much in that time and I made the dumb mistake of not measuring twice before cutting. Luckily I was able to recut the bodice by trimming off the necessary extra and I added a couple of pleats to the skirt back (instead of taking in the CB, which would have messed up the matching) and in the end it all turned out ok.
I made a few other modifications as well. For the front pockets to get the perfect ikat repeat, I made an inverted box pleat rather than the standard pleat instructions in the pattern. I also cut the top collar as to pieces to they would mirror one another at the front collar points.
I really loved making this dress. The pattern is excellent. The fabric was really great to work with and because the ikat is woven into the fabric (instead of just printed on top) it made my matching up less time consuming than I anticipated. I really wanted to stretch this project out over a week but it ended up coming together in just 3 days. It pressed out so nicely and all of that topstitching is what I love about sewing. Perfect little straight lines give me so much satisfaction!
ALSO! I attached my buttons by machine!! I’ve never done this before. Meg mentioned it in one of her tutorials and I thought… I bet I could do that. I just set my zigzag to the same distance as my buttonholes and held it in place until I had gone back and forth 10 times. I don’t know if I can ever do buttons by hand ever again (I will…when my historical sewing gets moved to the top of my list!)
Has anyone else done a project with this fabric too? I’d love to see what you made! DM me on instagram or shoot me an email!


