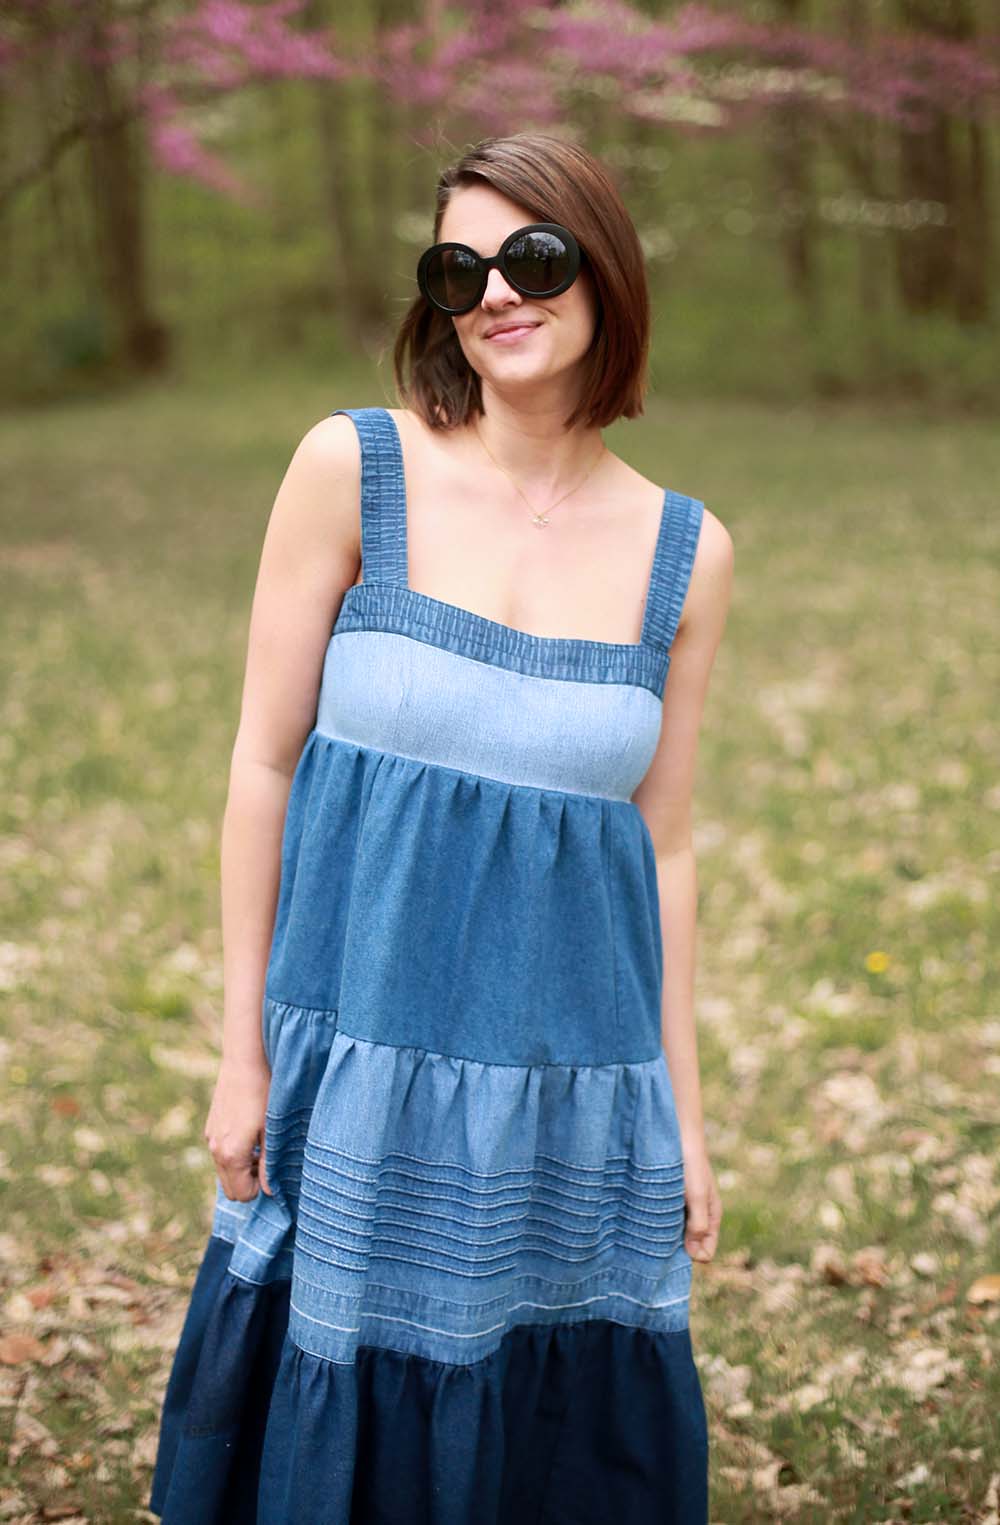
Design Journals 01 + 02

I’ve been in a mood to sketch lately and have started to pull out some of my old teaching materials and supplies. I also have a new camera mount which makes recording these things pretty simple and fun. Here are the first two of my design journal videos that I posted to my YouTube channel. I’d love to push myself to post a couple of these a week, in addition to some skill development videos (like the flat felled seam and how to sew a button videos )and project tutorials. Let’s just say everything is at least five times slower when you film it. Nevertheless, I’m enjoying learning something new!

Studio Quirk | FREE Cloth Mask Pattern + Tutorial

Free Double Layer Cotton Face Mask Pattern.jpg

2020. The year of sewing a thousand masks. I actually have no idea how many I’ve made this year, but I DO know which style I like wearing most. This version is a hybrid between a fitted duck bill style and a pleated rectangle. I like using elastic because it’s easy on/off. Today I’m going to show you how I make this mask and share the pattern I’ve developed that’s free for your personal use. This is a non-medical face covering and should be used alongside physical distancing and frequent hand washing. See the CDC’s guidelines on masks here. Ok! Let’s sew a cloth mask!

Line Break.jpg

SUPPLIES

  • 1/4 yard (or fat quarter) tightly woven cotton fabric (quilting cotton is great!)

  • Optional contrast fabric for bias binding

  • 13” soft 1/4” elastic

  • Scissors

  • Thread

  • Pins

  • Sewing Machine

  • Mask Pattern (free to print at home)

Enjoy the videos and music you love, upload original content, and share it all with friends, family, and the world on YouTube.

INSTRUCTIONS

Mask ON.jpg

Download and print my free mask pattern at 100%. You can double check you have the correct size by measuring the 1” square at the top of the pattern. This has been sized for an average adult woman. If you have a larger face, cut a little outside the pattern to make it bigger. The pleating will help customize the mask further (you may choose to omit it all together)

(For the body of my mask I used ‘Fleuron’ in Sanctuary from the Kismet collection designed by Sharon Holland for Art Gallery Fabrics.)

Cut FOUR of your main pattern piece (be sure you cut 2 lefts and 2 rights). Cut elastic into TWO 6.5” lengths. Cut TWO 2” wide bias strips, 9” long.

Sew center seam with 1/4” seam allowance to create FRONT and BACK. Press, trim and notch.

Lay elastic on RIGHT side of FRONT. Pin in place.

Place FRONT and BACK with RIGHT sides together and stitch 1/4” from edge. Turn RIGHT side out and press.

Fold bias WRONG sides together and press.

Lay bias RIGHT SIDES TOGETHER on the top of the FRONT side of your mask (if you’re using the same fabric for FRONT and BACK, it won’t matter which side you apply your bodice to). You should have bias extend over side edges so we can turn under and create clean edge.

Stitch 1/4” from edge. Press open.

Trim sides to 1/2” and turn under. Now turn bias over the seam and under. Press.

Stitch in the ditch (the area between bias and FRONT).

Repeat bias application on bottom of mask.

Now we’ll make small pleats on each side of the mask. Try on and create a small pleat with the fold pointing down, like this. Pin in place and top stitch to secure.

Optional: Insert a small wire over the bridge of your nose. I rip these out of disposable masks but you can also use the wire twist tie from a load of bread. Because they’re coated, I still throw my mask in the wash (daily!) without issue.

If you’ve enjoyed this tutorial or know someone who might, please share!
Mask Tutorial Thumbnail.jpg

Jessica Sews | Kismet Blouse

Kismet1.jpg

Long time no blog! Let’s jump into one of my recent projects, shall we? I just finished up another version of McCalls 7977 using a gorgeous Sharon Holland print (Fleuron Sanctuary) from Art Gallery Fabrics.  When I saw the print showing up on some of the quilting instagrams I followed I searched and searched until I found two yards via Milkshakes and Sunshine on Etsy.  It shipped so fast so once it arrived it was straight into the wash to cut and sewn the next day. 

Close Up of Kismet Blouse

This fabric gave me seventies bedsheet vibes, which is a look I’m all about these days. I knew I wanted to pair it with some kind of crocheted cotton trim on a full sleeves for an early Laura Ashley feel. (You can see my inspiration board for this year here)

From there I scanned my pattern collection and pretty quickly decided M7977 would be the perfect way to incorporate the two. If you’d like to see some of my process, I’ve saved it in an Instagram highlight.

Working with this fabric was really dreamy. It’s light, almost like a poplin and very easy to cut and sew. I love the way it drapes and forms the ruffles - it’s really really lovely. Last night I bought two more prints from this collection!

M7977 in Fleuron Sanctuary Kismet

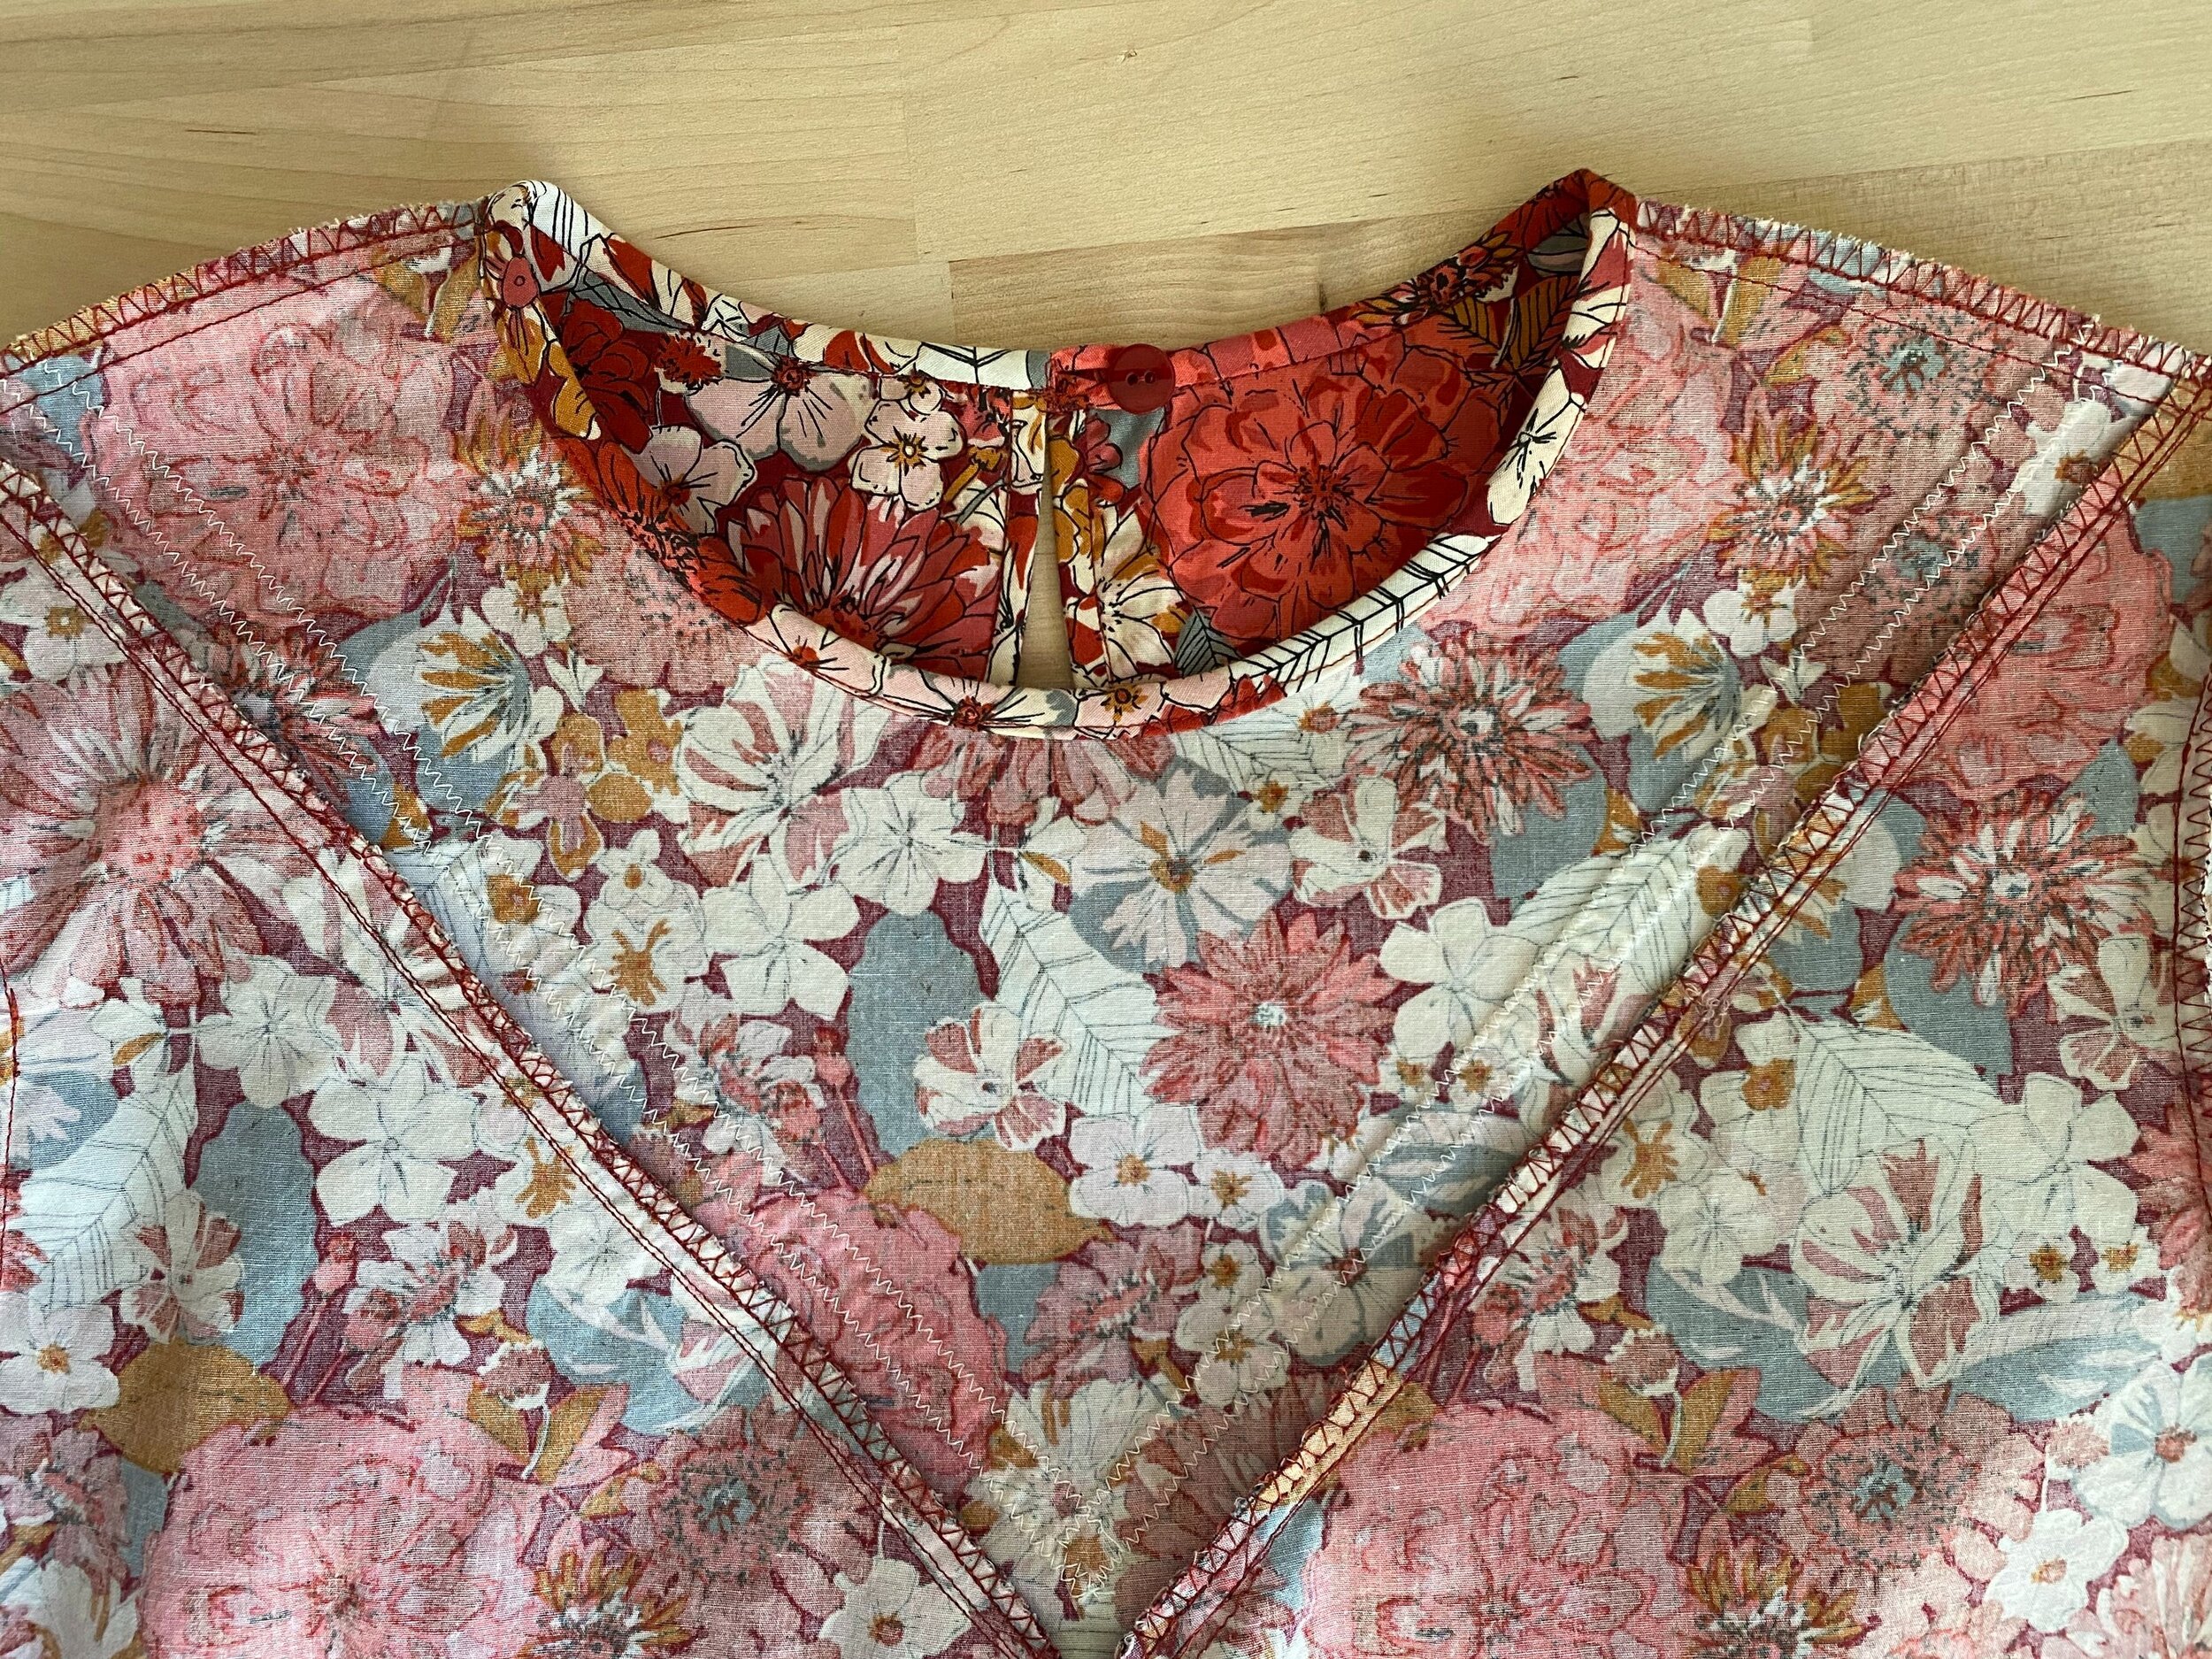
I also wanted to give you a quick look at the interior of this piece. I really like making neat and tidy garments and I did that a couple different ways. On the neckline and keyhole I used double turned bias - one of my favorite finishing techniques. On the armholes, the yoke and side seams I just did an overlock style zig zag with a new foot i just found for my machine.

Inside View M7977
Label in Kismet Blouse.jpg

Lastly, I sewed in a personalized label I designed and had woven by Dutch Label Shop. I’m so proud to put my name on this one. The whole project was a joy to sew and the encouragement I got from you guys during the process was really awesome. 

IMG_7483.jpg

I’ve got plans to do more documentation during my projects and I’d love to hear from you what you enjoy most. No wrong answers! 

Votes for Women! Early Edwardian Suffragist Ensemble

Suffragist Suffragette Outfit Costume
Votes 4.jpg
Votes 7.jpg
Votes 1.jpg
Votes 3.jpg

To celebrate the 100th anniversary of the passage of the 19th Amendment, which gave American women the right to vote*, I met up with some sister suffragettes for a Commemorative Votes for Women March in my hometown of Bloomington, Indiana. The event was put on by the Monroe County Historical Society and it was a nice turnout of mainly women, a few men and one newborn baby (otherwise, I may have been the youngest person in attendance!) in their white, purple and gold. Our mile walk through town yielded lots of thumbs up and photo ops and it was a fun way to spend a Saturday morning.

Here’s what I wore…

My hat and blouse are part of the same costume I posted to my blog earlier this summer. The blouse is from a 1903 reproduction pattern from Truly Victorian and I upcycled a vintage dress I had hanging in my garage, unworn for years. I’m so pleased with the project and how the blouse really looks like it came from the turn of the century. Once I had plans to dress up for the march, I decided I should go for an all white outfit, which many suffragists wore for their marches in the early 1900s. I created the skirt using another Truly Victorian pattern, also from 1903, with two layers of lightweight white cotton (the top being a super sheer muslin from Burnley & Trowbridge). The top is pin tucked to echo the tucks of the blouse.

The star of the show is my reproduction VOTES FOR WOMEN sash, which I made of cotton and used fabric markers for the writing. I used the tutorial from Susanna French (she has an etsy store for premade sashes too!)

I also wore some antique jewelry and a pair of reproduction Edwardian ‘Mae’ heels from American Duchess. I don’t think I’ve ever felt more comfortable or confident wearing a costume in public (outside of Halloween), so maybe I’m getting the hang of this whole costumer thing? I may even wear my sash again on Election Day, this time with a modern outfit. Women before me fought so hard to play a role in our democracy and I do not take it for granted. There’s still work to be done, and by voting for people committed to equality, we can get our country back on track. Please take the time to research your local and state elections (especially your school boards!) to find candidates with views that mirror your own.

*Women of color and indigenous people continued to face voting discrimination for decades afterwards until the Voting Rights Act of 1965 was passed. I really encourage everyone to do their own homework on voting rights (here’s a good article) and not take your current privilege for granted. You can check your voting status or register to vote at Vote.org.

Votes 2.jpg
Votes 6.jpg