Notes from the Field | 002
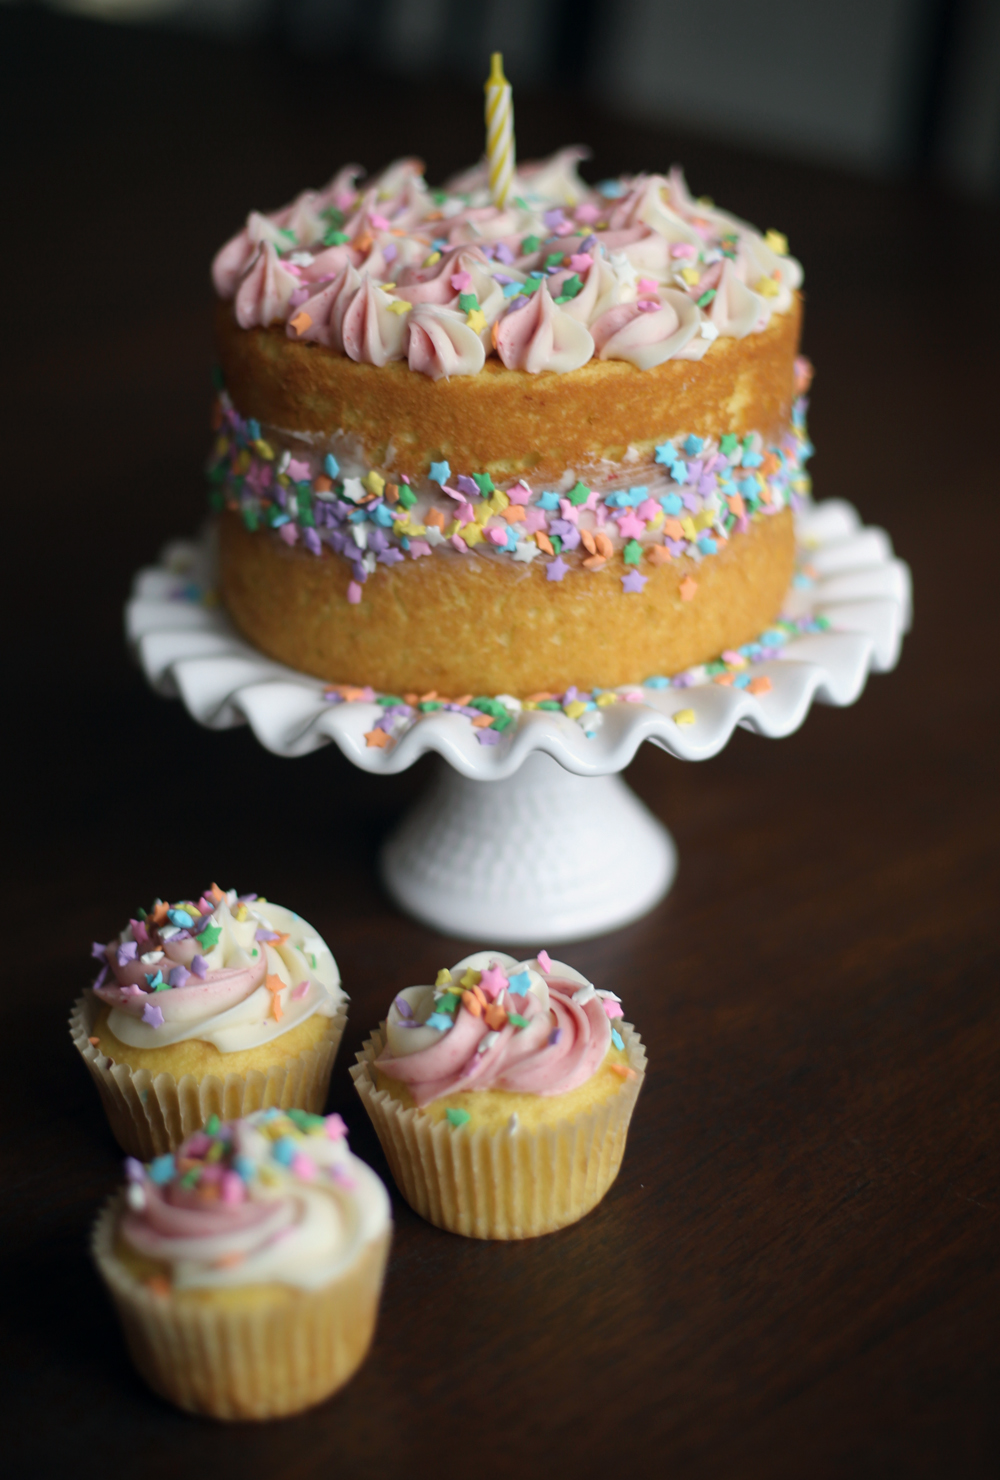
Friends! It's been a while since I've been able to open my laptop and sit down to write. On Thursday mornings I have childcare for the kids so I get to do whatever my little heart desires. Today it was a checkup at the doctor and now I'm sitting at the cutest new bakery and cafe sipping on an almond milk latte. 

Speaking of doctor visits, I was so impressed with how my nurse and nurse practitioner talked with me about my mental health. Some of you may have seen my instagram story the other night where I mentioned I wanted to eliminate words like crazy, insane and mental from my everyday use, especially because I'm a person who's dealt with my own issues in that department!  I'm not at all ashamed to tell you I sought treatment for my postpartum depression and it was only after I started medication that I realized how I'd struggled for so many years. 

For much of my life I felt like if I could just be a little more grateful or if I had a better attitude I could overcome deep feelings of sadness and worthlessness. I have friends who've been urged to pray more. But for some people, it's just not something you can wish away.  In fact, today I was told that it's rare a patient doesn't have some depression, anxiety or both (or know someone that does). Anyone who's been there knows you don't ask for that kind of illness for yourself! Sure, having gratitude and a good attitude can help but there is no shame in getting a professional to assess your mental health if you need more.

These days I feel awesome and I credit it to a lot of things - a loving and supportive family, especially my husband Adam, a nutritious diet, exercise, vitamin D and medication. 

So it's time to stop using words like crazy or insane as descriptors. There's just no place for that kind of talk in my world anymore. Because even if I don't use them as personal insults, there are so many people suffering from mental illness that it's still insulting to someone. Maybe someone reading this has felt that way before. And if you have, you're not alone, you're not broken, you're valuable and you're worth being a part of this beautiful world. 

I'm really grateful for the positive well visit to my doctor's office and the changing landscape of talking openly about mental health!


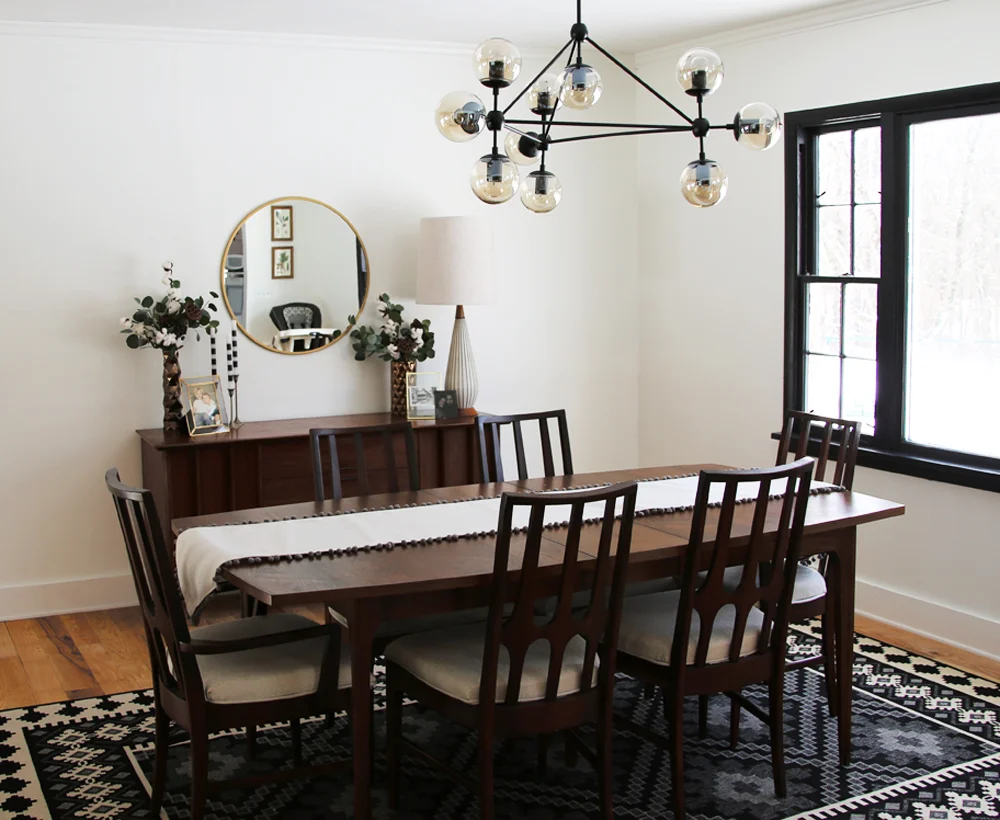
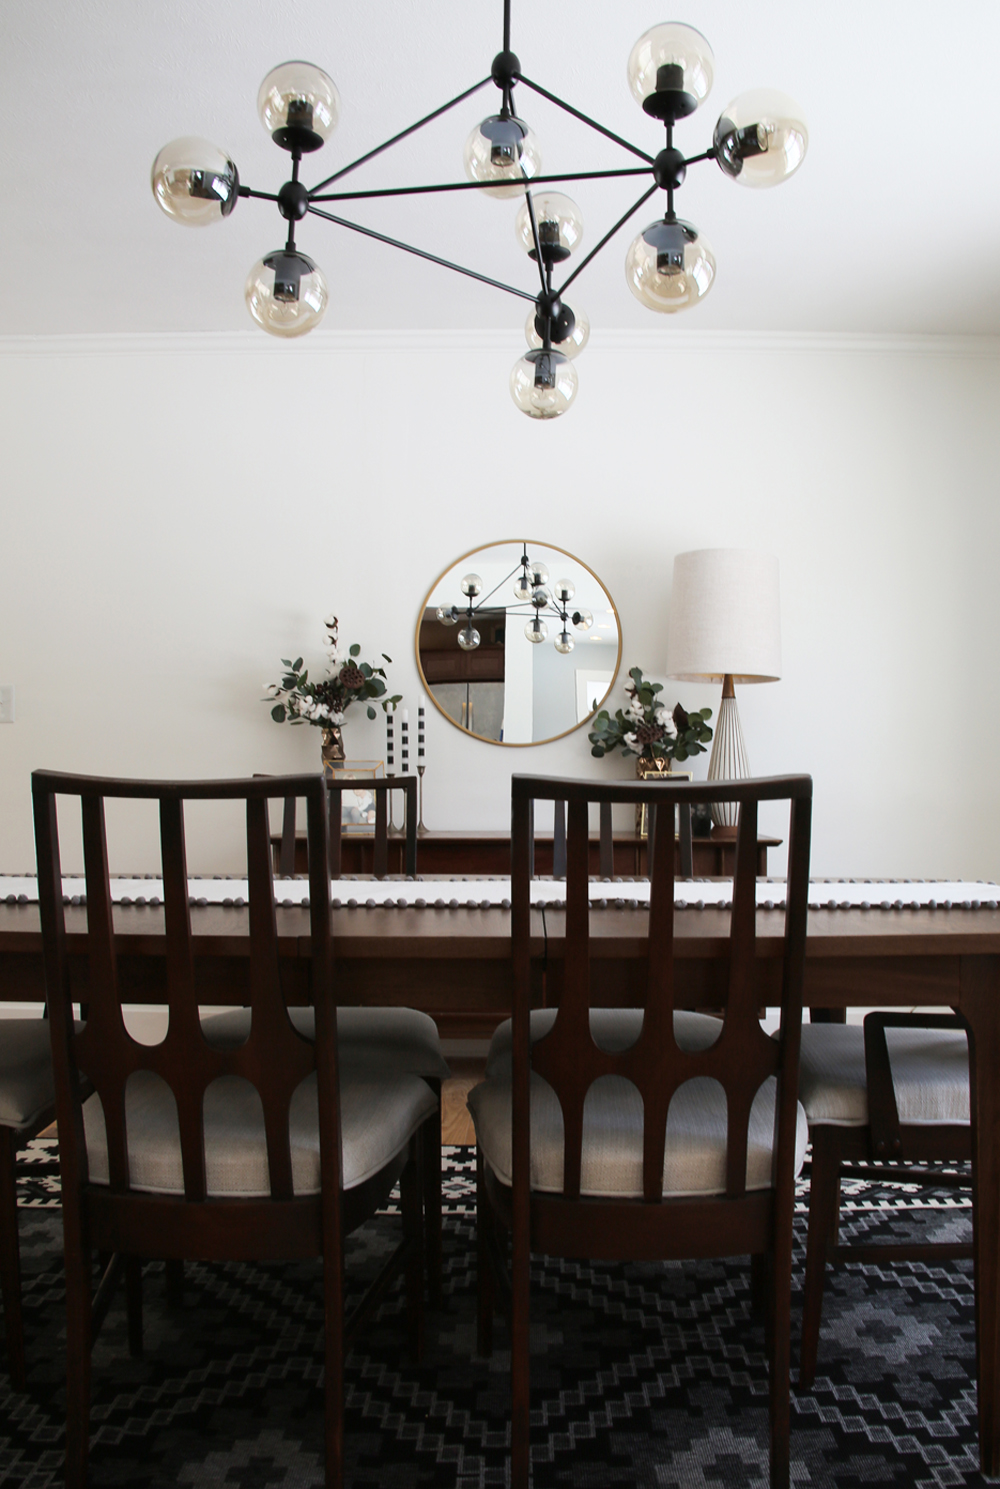
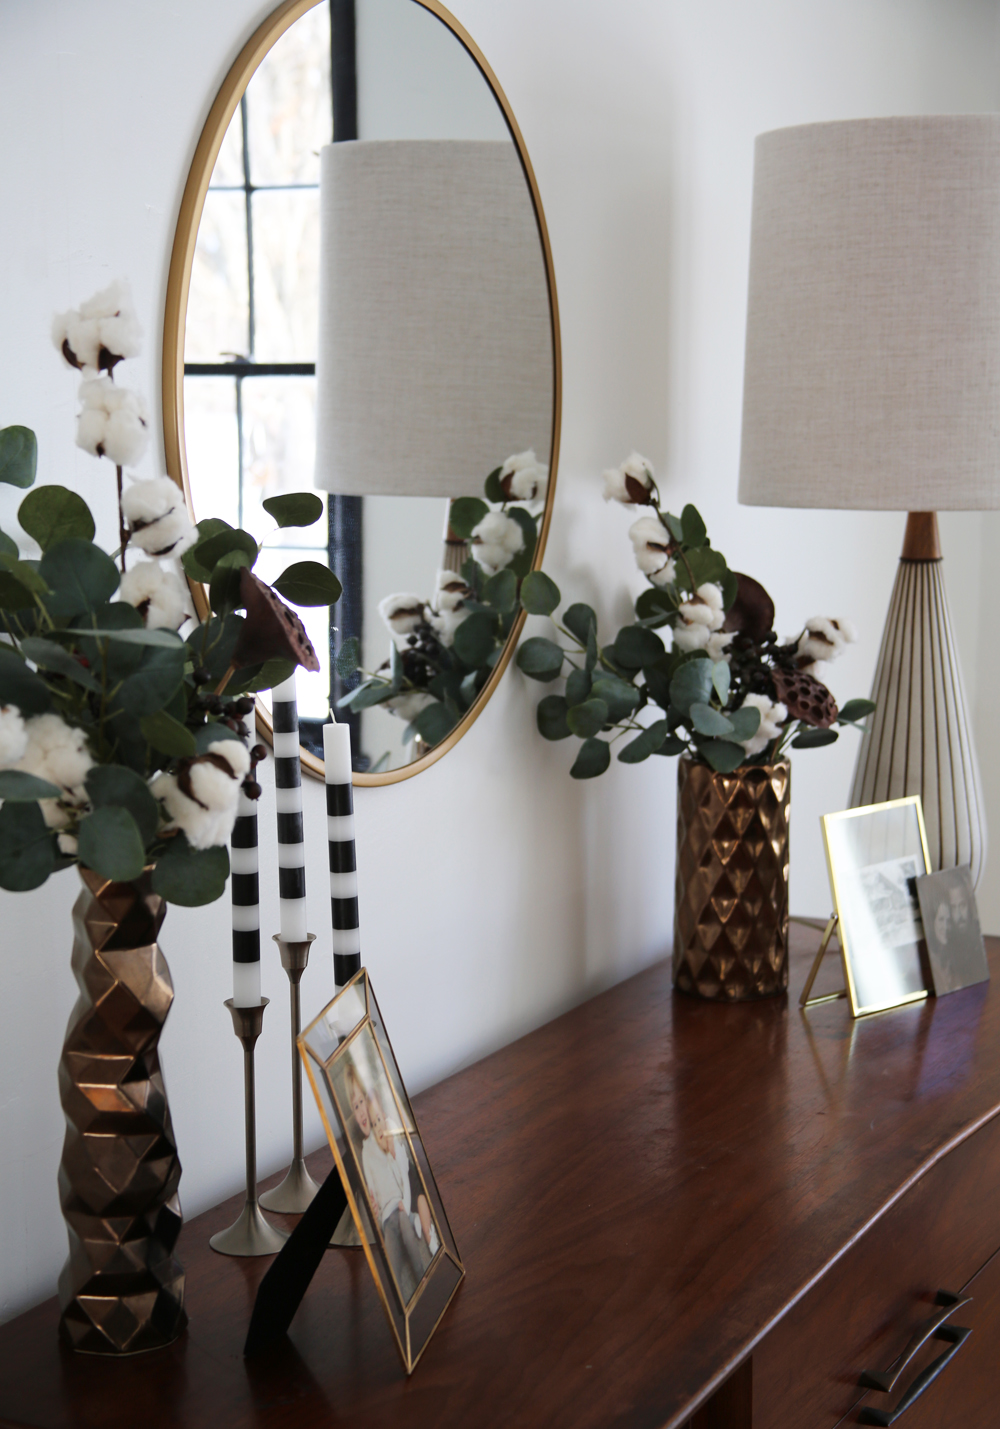
In other news, I've been really crafty lately! Right now I'm working on a butterfly embroidery (there's an early progress shot on my instagram) and last week I blocked a new straw hat for an upcoming vacation! I sewed a few things for my home too - a table runner and lampshade (both in my dining room) and a new pillow for my living room.

Oh! While I'm on the topic of the living room, I finally bought myself a fiddle leaf fig tree. After years of wishing and hoping I'd get one for Christmas or Mother's Day, now I have just one more houseplant to baby (I'm currently caring for 14 little darlings).

I'm also working on updating all of my household cleaning products to homemade or non toxic ingredients. I made some amazing foaming hand soap last week and I'm editing that post to put on the blog soon! I'll also list out what I've used and liked for a while (Seventh Generation products are really great!) and what you can just make at home (the aforementioned hand soap, but also glass cleaner and dish soap). 

That's it for now! I've opted to have comments on this post, if you're so inclined to chime in! 

Our Farmhouse | Dining Room Makeover

MCM farmhouse dining room 1.JPG

Guys! I am so excited to share with you our latest finished project - the dining room! When I stepped foot in this house I saw so much potential and I think the completed dining space is a testament to that! While we normally tackle all of our reno work alone, this project included new hardwood floors (they're ash!) and a custom iron railing. The rest of the work - all us! And by us I mean me, Adam, my father in law Jim and my dad! Plus both grandmas who helped watch the kids while we worked over the course of many weekends. It's not like what you see on TV! This stuff takes weeks (or in our case, months!)

Come on over and let me tell you about it!

Before

before 1.jpg

This space is part of a 1965 addition the original owners designed for the house. Standing at this vantage point is what sold the house for me (really, I knew the moment I walked in that we were meant to live here. Read more about how we lost out on it at first and then how it all came to be here).

Fun fact: we're the third owners of the home and before us, it was all in one family! In fact, our next door neighbor was raised in this house! 

Adam and I love both farmhouse elements and midcentury style, so the blend of the two inspired this room.

Take a look at the carpet, wall texture and color, railings, steps, flower box and window awning - they're all about to change below!


After

MCM Dining Room in Farmhouse.jpg
Rug and Floors

Floors

When we moved in the dining room was carpeted. We knew we'd want to change that (hello sticky, messy kiddos!) but had other more pressing budget issues to take care of first. One night while looking around at lumber on craigslist, we found a local supplier who wanted to clear out his stock of mixed width ash. The price was incredible so we bought everything we could and we hired out the installation. Instead of staining it, we had a couple coats of oil and a top wax coat applied. We also had our back hallway and kitchen done in the same wood and plan to refinish the original hardwoods from the front living room in a similar fashion.

On top of the wood, I found this awesome black, grey and off white rug from AllModern (in the 8x11 size). It's indoor/outdoor (which I've found are awesome for cleaning and kids!) It sweeps up so easily but hides crumbs pretty well too. A win win! It's definitely one of the most bold elements in the room and I looooove it.

MCM farmhouse hybrid dining room.JPG

Furniture

I told Adam before we did this space I was going to try to do it all second hand or homemade (and that was before I decided to make that my mission for the whole year).  The side credenza came with us from our last home (in fact, we bought it when we first moved in together in Park Slope, Brooklyn!). The table - 'Brazilia' by Broyhill was a craigslist find. I reupholstered the chairs myself (not well enough to make a tutorial, sorry!) they've been scotch guarded and already clean up well. 

10 light chandelier

Lighting

The star of the room may be the 10 light chandelier, but getting it was not easy. The first one I ordered came broken and the replacement was backordered until March. The company told us to donate or trash the broken one, so we decided to try to fix it (failed) but put it up anyways while we waited for a few months. Long story short the new one came earlier than expected, but with globes broken so between the two we finally have one light fixture. The quality is not amazing, but it looks good hanging up. I wasn't willing to pony up the thousands of dollars for the original designer version. Whatever! LET THERE BE LIGHT! 

The lamp on the credenza was a vintage find and I recovered the shade myself. 

Walls and Windows

This space originally had paneling on the lower half of the wall. On the south side, we tore it out and installed new drywall (#neveragain) and on the west wall I used joint compound to fill in the grooves for a smooth finish. I googled numerous tutorials and watched YouTube clips and it's pretty straight forward! 

Next I painted the ceilings (basic white ceiling paint out of the can) and then the walls in Chantilly Lace (Benjamin Moore). I also painted the window trim and went bold by going with Black (also Benjamin Moore). I love the contrast and how it gives the room sort of a Scandinavian vibe!

railings.jpg

Railings

The old railings had more of a 1960s front porch feel than we wanted, so we took them out ourselves and had our pal Josh at Clutch Fabrications design new custom rails for us. So fresh! So clean! We also opted to change the edge from a double curve to one curve (where houseplants now live) and a straight edge. This was more economical for the metal work and also gave us an extra two feet of usable space in our dining room. 

Decor

Prints.jpg

Look familiar?! That's because I borrowed it from the upper living room. One of the things I like to do with decorating my house is to move things around from time to time. A lamp in the bedroom today might be in the living room tomorrow. Since we're not getting a lot of living done in the living room, I felt great about giving these piece a place to shine!

I did buy new frames back in 2017 from Target (available here and here). The candlestick holders are from Goodwill and the mirror is also from Target. On the table I made a quick runner using the same fabric as the lampshade and trimmed it with French grey pompom trim. 

Near the room's light switches I hung two botanical prints - a paw paw and a poplar. We have both on our property which is kind of cool! I found them at a garage sale many years ago! 

MCM credenza styling.jpg
MCM farmhouse dining room 2.jpg

See the rest of my Farmhouse Makeover posts here! 

Color Me Green

Farmers Market Flowers.jpg

In addition to my 'Make, Do + Mend' mission for 2018, there's another theme I've been embracing. Simply - if the book falls off the shelf - read it! That is to say, when I feel something in my gut or feel like the Universe is pushing me in a new direction, I should embrace it!

One particular aspect of that is a desire to go minimal and green with all of the consumable products in my home. I'm talking household cleaners, makeup, health and beauty. We already eat organic and hope to be supplying a lot of our own food in the future. I've been a fan of vinegar, baking soda and lemon to clean for years, I use cloth diapers and my detergents are free and clear but I know I could do better for myself and for my family.  I also know that I can't do everything all by myself and sometimes I just have fall back on whatever works. Rome wasn't built in a day, but I'm ready to start laying a better foundation. 

So this is where I'm asking for your help. In the comments, could you share one or two things you've done to either a) make your own cleaning or health/beauty products OR b) found a product that's effective with minimal ingredients? Could I use almond oil instead of body lotion (something I already do - but is there a better option?) I already use aluminum free deodorant (like... every three days or something?) but is there something else that works I could make myself? I've tried baking soda on my hair with ACV rinse but it was not successful. I know better than to trust every Pinterest claim of banana face masks (maybe they do work?) and DIY tooth whitening, but you guys must have some secrets to share, right?

Ladies! Give me your wisdom! 

Jessica Bakes | Lemon Cake with Strawberry Cream Cheese Frosting

Rainbow Lemon Cake with Strawberry Cream Cheese Icing 6.jpg

Happy Birthday to my darling daughter Beatrix! To celebrate, Felix and I baked her this beautiful cake and guys, it was a) easy AF and b) the most delicious cake I've ever had - tart, tangy and sweet all in one bite - no exaggeration! And the best part - it was from a box! Just a little doctoring up and the results were incredible (of course I had to taste test when we baked it yesterday... Bea will have the chance to smash it tonight! Cupcakes for everyone else!)

Rainbow Lemon Cake with Strawberry Cream Cheese Icing 3.jpg
Rainbow Lemon Cake with Strawberry Cream Cheese Icing 2.jpg

Here's what I used:

Lemon Cake

  • One box of Lemon cake mix (I used Betty Crocker Super Moist or something like that)
  • Sub butter for oil
  • Add an extra egg

The butter adds extra richness while the bonus egg makes the cake super fluffy! Bake per instructions on box.

Frosting

  • 1 package cream cheese
  • 1 stick of butter
  • 2 1/2 - 3 cups of powdered sugar
  • 2 T freeze dried strawberries

I use my go to cream cheese icing recipe because it's tangy and not too sweet. After mixing everything together (add the sugar in stages, adjust sweetness to your liking!) I divided the contents in half and set the plain icing aside. Now for the strawberries! I make a powder using my coffee grinder (cleaned thoroughly first!) because it gives such rich true strawberry flavor without any extra moisture. And the pretty pink color is more subtle and natural. 

To get the swirled effect, you'll need three pastry bags. Use the decorating tip of your choice in the first bag and set aside. In the second, fill with plain icing and the third with the strawberry. Now you need to fill your tip bag halfway with each flavor. It sounds a little complicated, but it's not - I promise! 

For the display of our little mini smash cake, I used a small cake stand I received as a gift (this is a cute option and large base). To ice the cake I first did the layer between cake sections and let it be rather messy. Next I made stars and rosettes on top. Using a flat spatula, I smoothed out the middle section and pressed on cute star shaped sprinkles. No need to be perfect! I like the homemade appeal of this beauty (fun fact - I always made and decorated all of the family birthday cakes as a kid!) Lastly, dust the top of your cake with more sprinkles, take a million photos and enjoy as it's smashed to pieces by your one year old baby! 

Happy Birthday little Bea!

Rainbow Lemon Cake with Strawberry Cream Cheese Icing 1.jpg