Pumpkin Pie 101

Pumpkin Pie with Sweetened Condensed Milk, Easy Pumpkin Pie, Best Pumpkin Pie

Anyone can bake a pie, and if you’re just starting out, a pumpkin pie is a perfect place to start! The ingredients are simple and little tweaks can make it better than the store bought version!

Here’s how I make mine: firstly, I make things easy on myself by using pre-rolled refrigerated pie crust. None of my friends can tell the difference between it and my from scratch version (but if you want to do it, here’s a great recipe). I also don’t bother with fresh pumpkin - the canned stuff has a good texture and is so much less hassle. Some people used evaporated milk instead of condensed, but I like the latter better. Here’s my full shopping list:

  • 1 Pre-Rolled Pie Crust
  • 1 Can of Pumpkin Puree (not filling)
  • 1 Can of Sweetened Condensed Milk
  • 2 Eggs
  • 1 T of Pumpkin Pie Spice
  • Dash of Freshly Ground Nutmeg
  • Heavy Whipping Cream
  • ¼ C Powdered Sugar

Set your over to 425 F and take your chilled dough out of the fridge. I like to grease my pie plate but if you forget your pie will still come out nicely (there’s fat in the crust). Now crimp your edges and put the pie crust back in the fridge.

Now mix together your pumpkin puree, sweetened condensed milk, egg and spices until smooth. It’s my personal pie making philosophy that you can taste fresh nutmeg and I put it in almost all of my pies. Just a dash will do and it’ll make all the difference!

Next pour your mixture into your chilled crust and pop into the oven for 15 minutes. Lower your temp to 350 and cook for another 45. I usually put on a pie shield on my crust now (you can also just use aluminum foil!). When cooked, the center should still be slightly jiggly (technical term). Now turn the oven off and let the pie cool slowly. This will help any cracks from forming on the top. 

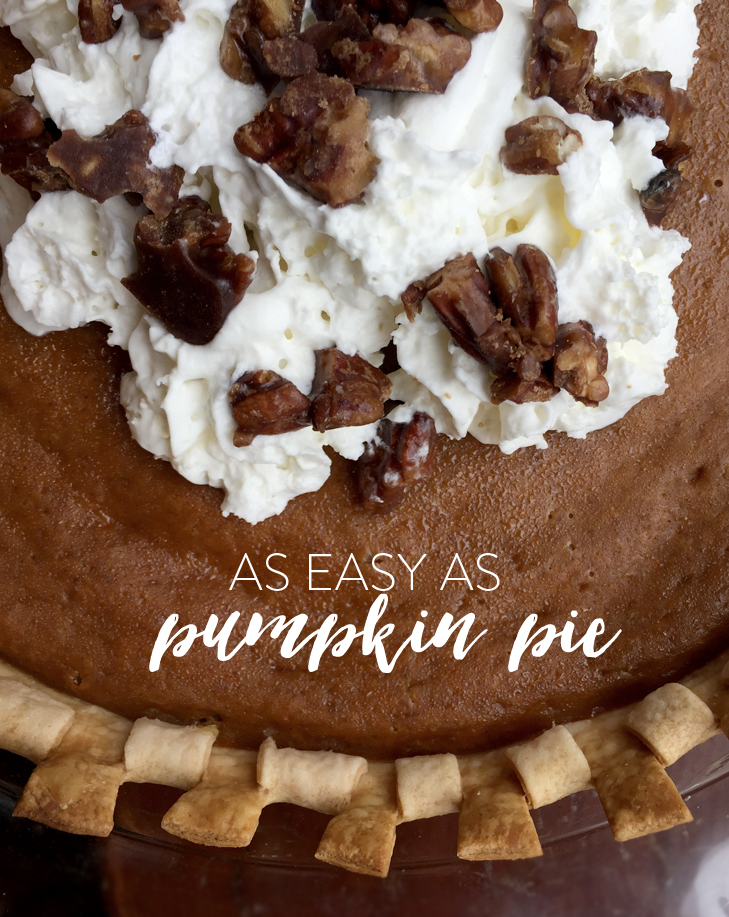
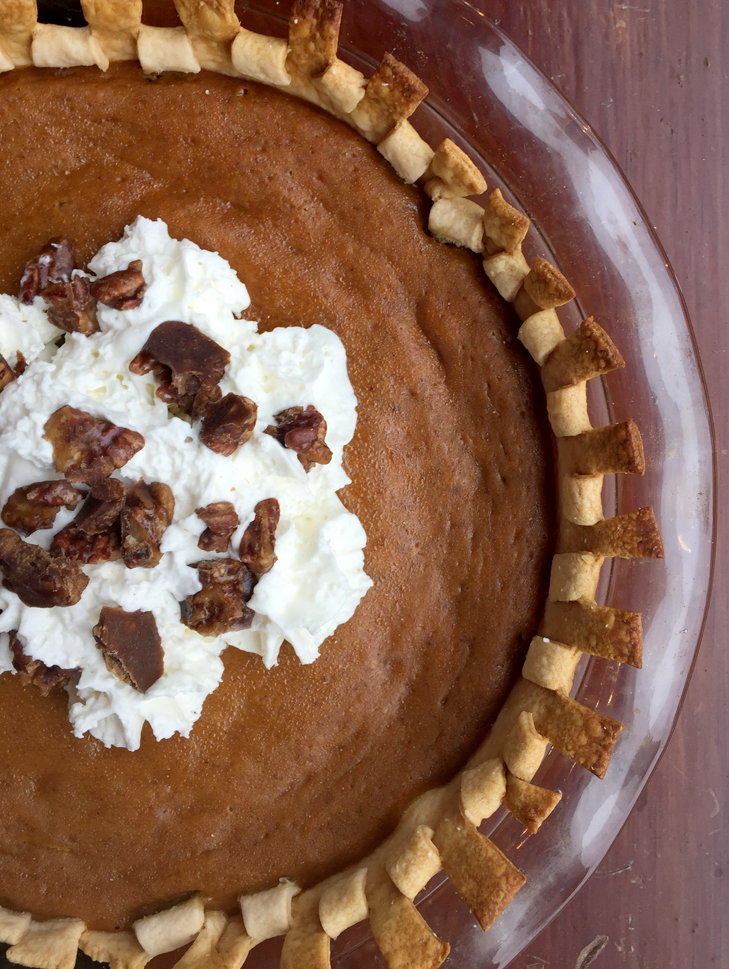
Once your pie has completely cooled, you can top with freshly made whipped cream. That’s just heavy whipping cream and a little powdered sugar beat on high until stiff. If it starts clumping together you’ve gone too far and made butter, so keep an eye on it! In these pictures I was low on time so I just used store bought whipped cream, which is fine too! 

I also like to top with candied pecans which are just melted butter, brown sugar and chopped pecans. 

See! You can make a pie! And it’ll be delicious! Happy Thanksgiving everyone!

Pumpkin Pie with Sweetened Condensed Milk, Easy Pumpkin Pie, Best Pumpkin Pie

Jessica Bakes | Mint Chocolate Cupcakes

Mint Chocolate Cupcakes, Grasshopper Cupcakes, Andes Mint Cupcakes, Shamrock Cupcakes

I have been on a roll with baking cupcakes lately! A few weeks ago I did four dozen using spirits from my husband’s distillery for a party they held (see photos with details here and here) and then I did red velvet cupcakes for the Super Bowl. 

Today I’m sharing a recipe I’ve been tweaking for the past couple of weeks - Mint Chocolate Cupcakes! I think the key is in the kind of mint you use and how much… read on for details!

Chocolate Mint Cakes 

Yields 16

  • 3 T butter, softened
  • 2 eggs
  • 1 C, 2T sugar
  • 1 C flour
  • ½ C unsweetened cocoa
  • 1 ½ t baking powder
  • 1/8 t baking soda
  • ¾ C milk
  • ½ t vanilla extract
  • 1 drop peppermint extract
  • 1 drop spearmint oil

Preheat your over to 350 and line your cupcake tin with parchment liners.

Cream together soft butter and sugar in a mixer until combined.  Add one egg at a time and mix thoroughly.

In another bowl, sift together remaining dry ingredients.

Add vanilla, spearmint and peppermint to milk.

Alternate adding dry and wet ingredients to batter, making sure to fully combine. 

Give it a good whip on high. Fill liners about half way to ¾ full using an ice cream scoop (this was a tool that really upped my game!)

Bake 17 minutes and check with a toothpick to ensure center is baked through (a clean toothpick means they are ready to come out!)

While they are cooling, prep your icing!

Mint Cream Cheese Icing with Oreos

This is my favorite icing base and I use it for every kind of flavor I do! Be VERY careful adding the mint extract and oil… the smallest amount goes a very long way and gives a wonderful nuance to the flavor. Too much and it tastes like toothpaste!

Yields enough to frost 16-20 cupcakes

  • 6 oz cream cheese, softed
  • 6 oz butter, softened
  • 2 C powdered sugar
  • 2 drops green food coloring
  • 1 drop blue food coloring
  • 1 drop spearmint oil*
  • 1 drop peppermint extract*
  • 2 Oreo Cookies, smashed

Cream together softened cream cheese and butter until fully combined and fluffy. 

Slowly add powdered sugar in ½ C increments.

Add food coloring and mix until pigment is combined.

*Now for the mint. Using a spoon, drip one drop of each flavor and let it roll off the spoon. Stir the icing with that spoon and remix to incorporate flavor. Taste your icing and repeat if necessary. 

When flavor is to your liking, fold in crumbled Oreo cookies, leaving enough crumbs to garnish your frosted cupcakes.

Once cupcakes have completely cooled, use a large star tip (Wilton 1M shown here) to ice and top with crumbled cookies. 

Mint Chocolate Cupcakes, Grasshopper Cupcakes, Andes Mint Cupcakes, Shamrock Cupcakes

Mint Chocolate Cupcakes, Grasshopper Cupcakes, Andes Mint Cupcakes, Shamrock Cupcakes

Do Over | Macarons 2.0

lemon macarons, macarons

WhatIWore: Last week I was baking like a mad woman! I made 8 batches of macaroons and was pretty proud of my Pumpkin Spice coffee flavored ones that I posted that week… that is until they turned to mush less than 24 hours later. Boo! They could have been prettier too… I still have so much practice until they’re shaped properly. I’ll get there eventually!  

Set on improving my results, this weekend with my mom’s help, we made them again. Using your advice (especially you, LMR) I slammed down my trays after piping and before setting up to get more bubbles out. Now we’re getting closer!! Slightly rounded top! Little lifted feet! We did a lemon buttercream using lemon extract and lemon rind and hallelujah it was incredible. I still need to figure out how to get the entire macaroon filled (because the top dome is hollow and thus super fragile). Who’s got a tip for me?

In My Kitchen | Pumpkin Spiced Macarons

Pumpkin Spice Macarons, macarons

WhatIWore: Have you seen The Great British Bake Off? Adam and I are obsessed! I’ve done pies and cakes and bread, but one thing I hadn’t tried until last week were macarons. They seem like they’d be really hard, but if you find a good recipe, they’re pretty doable!

Now that the leaves are changing, why not take a hint from my favorite fall drink and do a pumpkin spiced coffee flavored version? Here’s how I made these (based on this recipe, with my changes)

Ingredients
Three Egg Whites
110 grams almond meal 
200 grams powdered sugar
1 T Coffee Flavored Liqueur (I used Cardinal Spirits Songbird Coffee Liqueur)
¼ C sugar
Gel Food Coloring (3 drops red, 3 drops yellow)

For me, the key was also in using the proper tools, which were: a kitchen scale, a  metal seive and parchment paper on a thin baking tray. (Some bakers swear by the Silpat, but when I used plain old parchment and a little cooking spray, I had much better results.) The ingredients are quite simple: powdered sugar, regular sugar, almond meal and egg whites. It’s how you handle them that makes all the difference.

For the macarons:

First get your whites into your mixer and get ‘em fluffy. I add my food coloring at this stage as well.

While those are mixing, sift 110 grams of almond meal into a bowl, followed by 200 grams of powdered sugar. Then sift them again to mix them throughly together. I found that when I was sifting my almonds some little pebbles were left in the sieve. On my first attempt I just left those in the batter, but they made the texture… bumpy. By sifting into your bowl on the scale, you’ll get the proper amount of fine almond dust!

Check your whites and add in the ¼ C regular sugar now until incorporated. They should be glossy and form peaks.

Next fold the dry ingredients into the egg whites. Do this carefully. Somewhere between 30-40 folds will yield the proper consistency. Too firm and the macaroons will pipe out too thickly and peak up and too much mixing will kill all of that fluff you’ve whipped up.

Gently transfer your mixture into a pastry bag and pipe them onto your silpat or tray. When practicing, I found my last macarons always came out best, which tells me the mix can either rest or warm up a little. Take your time to create evenly sized cookies and be sure not to place them too closely together. I also had the best success with silver dollar sized circles.

Now! Wait! You want to let the little cookies just sit on the tray at room temp so they develeop a little natural shell on top. I waited about 45 minutes for this to happen. In the meantime, you can get your oven pre-heating to 285.

To bake, I went 11-12 minutes (original recipe suggests 10), then let them cool completely before taking them off the mat (anytime I got impatient and tried to peel one off too soon it stuck and crumbled). They should be slighted domed on top and have little feet rising from the bottom.

UPDATE: Don’t do what I did with the filling. These turned to mush within 48 hours. Great flavor, not great texture. Next time I’m going to go back to buttercream and use pumpkin pie filling as part of the liquid (maybe instead of milk?) and see if I can get that pumpkiny flavor in a more solid (and less moist) filling.

For the Filling:

If I could do this part over again, I’d add a little less pumpkin filling because it made the end product a bit too moist if not eaten immediately. For this version, I mixed equal amounts of softened cream cheese and pumpkin pie filling to create a creamy, pumpkiny filling and added 1.5 T of the coffee liqueur. Once mixed I pushed it through the sieve again to get a smooth texture. It was a little runny, so I put it into the fridge to rest and firm up. Of all the fillings I’ve tried, buttercream actually holds up the best, but is too sugary for my taste. I’ll continue to experiment on this part! Once shells are cooled, pipe in filling. 

The macarons pictured here were my third attempt at this specific recipe (fifth time making macaroons overall) and I learned something each time - from the importance of using a scale with the powdered ingredients to adjusting the cooking time, to letting the little feet form (a result of proper folding… I think??) All batches tasted good, most had good texture and all of the experimenting was worth it! Are they pastry chef perfect? No way! But do they taste like your favorite fall time coffee shop latte? Heck yeah! I’d rate these easier than baking a pie and a little more challenging than bread. Definitely not something you whip up to take to a last minute dinner inviation, but doable if you have the time and patience. Now… who’s coming over for tea time!? 

pumpkin spice macarons, macaron, pumpkin spice