Millinery 101

WhatIWore: If you’ve read What I Wore for even a little while, you’ve probably noticed that I wear a lot of hats, many of them marked self made. My first experience in hat making was a two week section of a costuming class (which also covered gloves, corsets and tutus) back in college. Then my book club read this memoire in January of 2013 and I was inspired to get back into millinery.
I hacked my way through it. I bought new and vintage blocks (wooden hat forms). I watched YouTube videos. I used a lot of trial and error. While the end results were good enough, I didn't really know what I was doing.
And last Thursday, I made a step towards changing that.
I’ve been buying my millinery supplies - felt, straw, wire, and petersham, from Judith M online and realized they were located in Northern Indiana. I’d looked through the class schedule but between last year’s weddings and this year’s pregnancy, it was hard to find a good time to sign up for a class. On a whim, I e-mailed to see if private one-on-one classes were an option? Lucky me - they were!
The studio was an hour drive from my parents’ place in Fort Wayne, in the heart of Amish country in LaGrange Indiana. My instructor, Chicago milliner Laura Hbuka, took me through the old world process step by step. Within the first hour, I felt like making the long drive was totally worth it and by the end of the day, I walked out with three custom hats that I designed and constructed myself.
To give Laura an idea of where I was with my millinery knowledge, I brought everything in my stash - crown and block brims, basic supplies and hats I’d already made. I decided to borrow some blocks from Judith’s extensive collection of new and vintage crowns and brims to make my hats. From there, I browsed shelves of wool and rabbit fur felts. In typical style, my eyes went to all of the priciest materials, but they were just too plush to pass up! Because I’m used to ordering my supplies online, it was awesome to see the differences between the options and I’m really happy with what I picked out.
With blocks and hoods (unblocked felt in a dome/cone like shape) in hand, I learned the tricks of the trade! If you’re interested in taking a class yourself (one on one or in a group setting), get in touch with Judith!


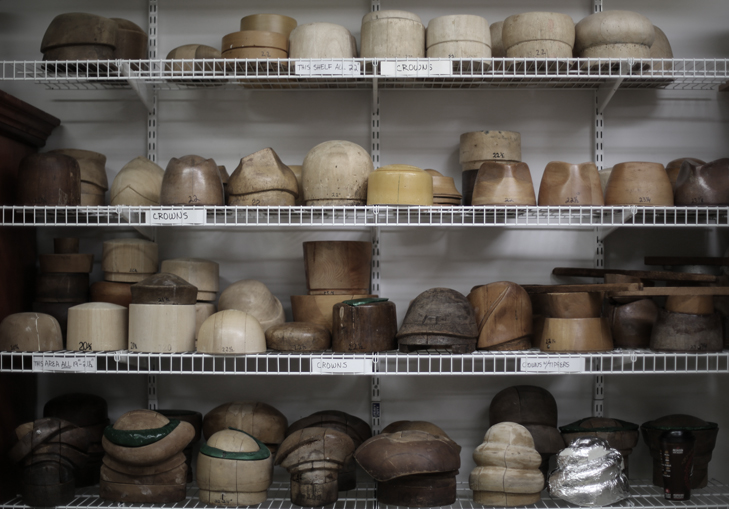
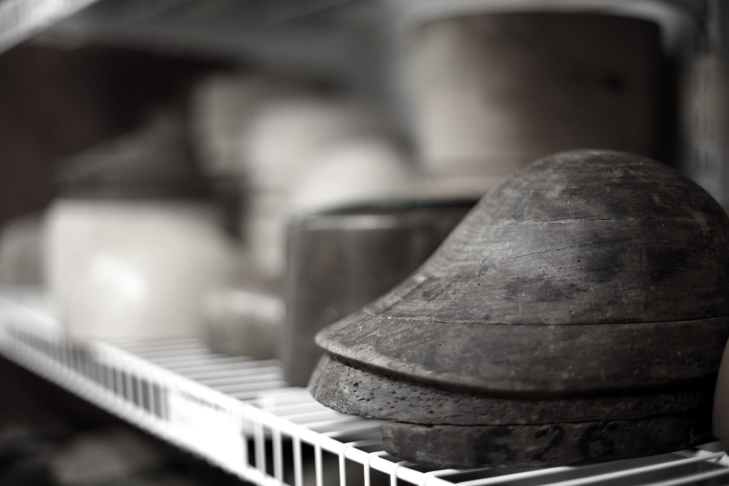
Above: Judith’s impressive collection of blocks

Above: Raw materials in the form of hoods and capelines, ready to be blocked.

Above: Plush rabbit fur velour hood prior to goingon the block. Below: Blocking complete and the hat is ready to dry!

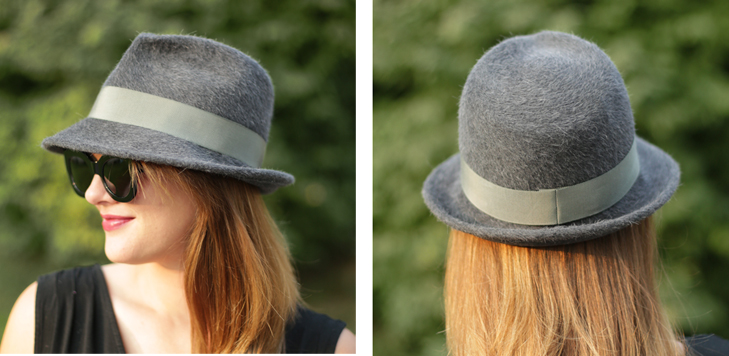
And without further ado, here are the hats I walked away with! I had a snap fedora on my list (the band snaps up at the back) and used a gray menswear style felt called salome.

I also knew I wanted a two tone hat and opted to use tradition navy (brim) and French navy (crown). I blocked this hat in two pieces and joined them after drying. I finished this hat off with a navy band that isn’t a perfect dye to match shade, but really pulls the hat together nicely. Indoors it looks navy and black so I’m very pleased with how it photographs outside!

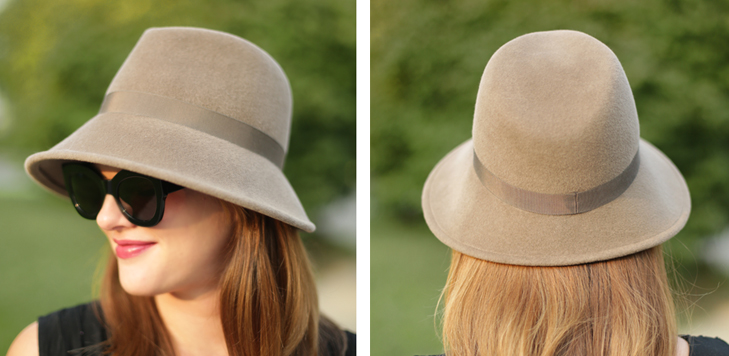
Finally, my favorite - a putty colored fedora with an off center brim, which is shorter in the back and then longer in front. This hat screams luxury to me, but it’s still so versatile that I image I’ll be wearing it every where this fall!


